Most grow kits follow the same core sequence: unbox, identify your kit type, assemble the key components, dial in water and light, and then maintain a consistent environment until your plants or mushrooms start thriving. The tricky part is that 'grow kit' covers a huge range of products, from hydroponic countertop gardens and seed-starting systems to mushroom cultivation bags and water-based terrarium toys, and the setup steps differ meaningfully between them. This guide walks you through all of it: figuring out exactly what you have, setting it up correctly the first time, and knowing what to do when something goes sideways.
Grow Kit Instructions: Setup, First Run, and Troubleshooting

Marcus Thornfield
22 May 2026
What's in your grow kit (and how to identify your kit model)
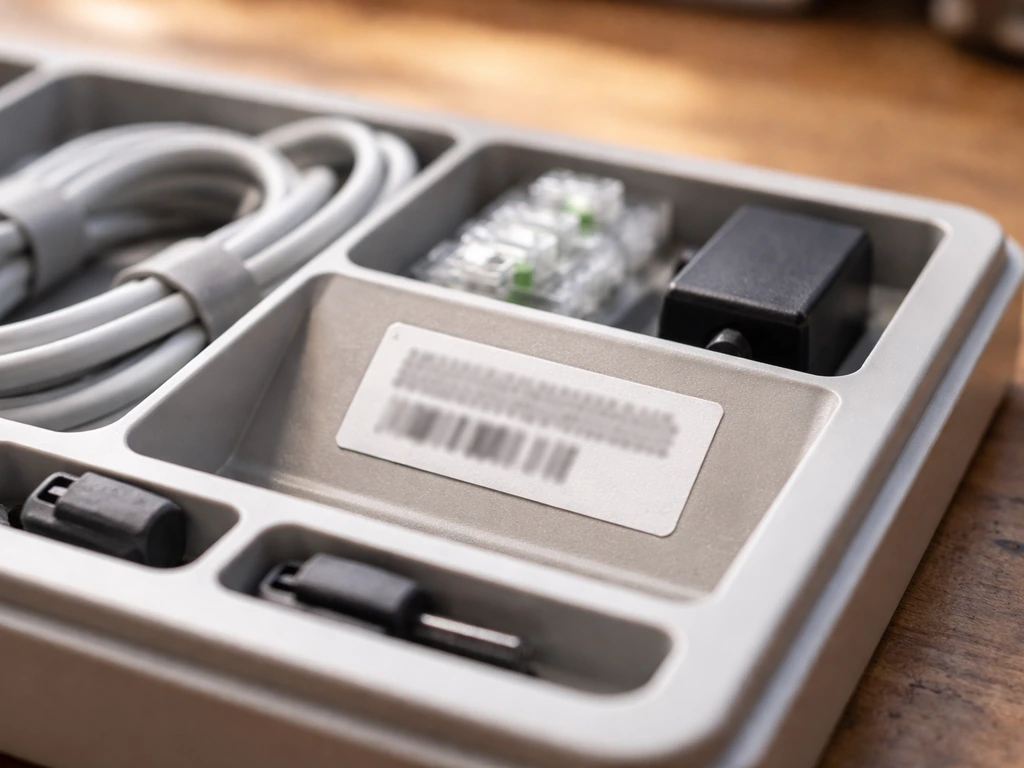
Before you do anything else, figure out exactly what type of kit you have. This sounds obvious, but plenty of people skip this step and end up following instructions that don't match their equipment. Pull everything out of the box and lay it on a flat surface.
Look for a model number or serial number sticker, usually on the back, bottom, or side of the main unit. Some smart grow systems (like Hey abby and similar app-connected kits) put the serial number on an upper-back sticker, and you can also find it inside the companion app under device management. If you have a bag-based or terrarium-style kit with no electronics, check the packaging itself or any folded instruction card tucked inside.
Once you have the model name or number, do a quick search for its quick-start guide or manual PDF. Most brands have these on their website, and they're almost always clearer than the printed insert that came in the box. Keep that document open on your phone while you work through the setup below.
The four main kit types (and how to tell them apart)
| Kit Type | Key Components | Main Growing Medium | What It Grows |
|---|---|---|---|
| Hydroponic countertop kit | Reservoir, pump, tubing, LED grow light | Water + nutrient solution | Herbs, lettuce, vegetables |
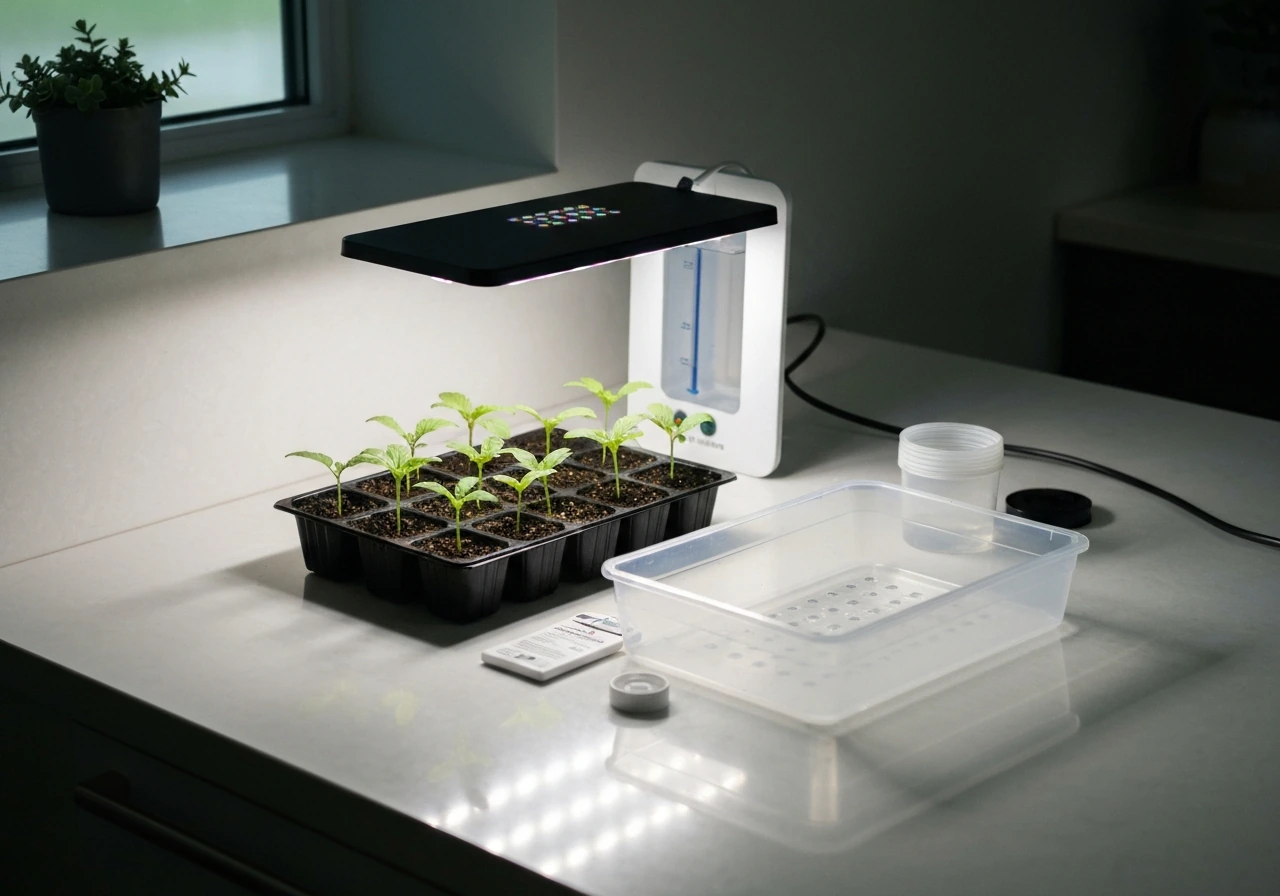
| Seed-starting kit | Seed tray/cells, grow light, timer, grow sponges or plugs | Sponge/grow media | Seedlings for transplanting |
| Mushroom cultivation kit | Substrate block or bag, humidity tent or bag, mister | Hardwood or straw substrate | Oyster, shiitake, or other mushrooms |
| Water-based terrarium/toy kit | Enclosed container, water, grow capsule or tablet | Water or gel | Aquatic plants, moss, small novelty plants |
If your kit came in a sealed bag with a dark brick of material that smells earthy, you almost certainly have a mushroom cultivation kit. If it has a plastic basin with small round holes or cups for pods, it's a hydroponic or seed-starting system. If it's a self-contained glass or plastic vessel you just add water to, it's likely a terrarium-style kit, which shares some overlap with grow bottles, grow jars, and grow buckets, each of which has its own specific setup approach.
Step-by-step grow kit setup (from unboxing to first run)
Here's a setup sequence that works across all major kit types, with type-specific steps called out where the process diverges. Hydro Harvest’s assembly instructions for its hydroponic kit provide explicit prime and pump run guidance during setup, such as running the pump for a specific 1-minute interval. If you need an even more specific walkthrough, use the grow bar instructions for your exact kit type and model alongside this sequence.
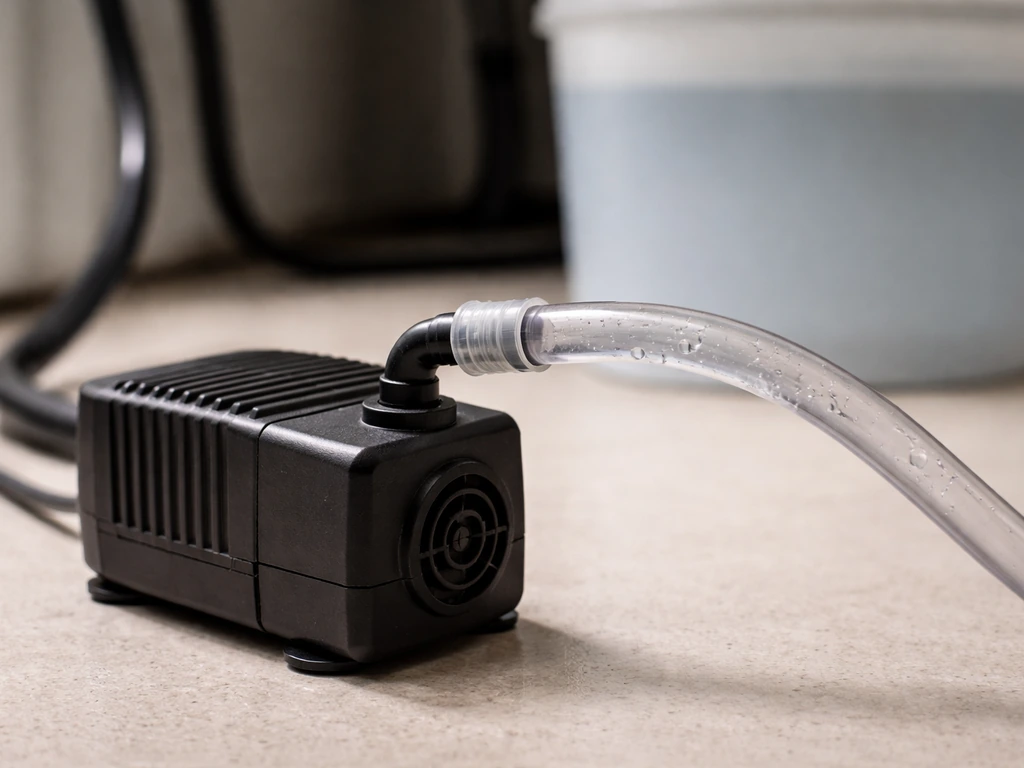
Hydroponic kits
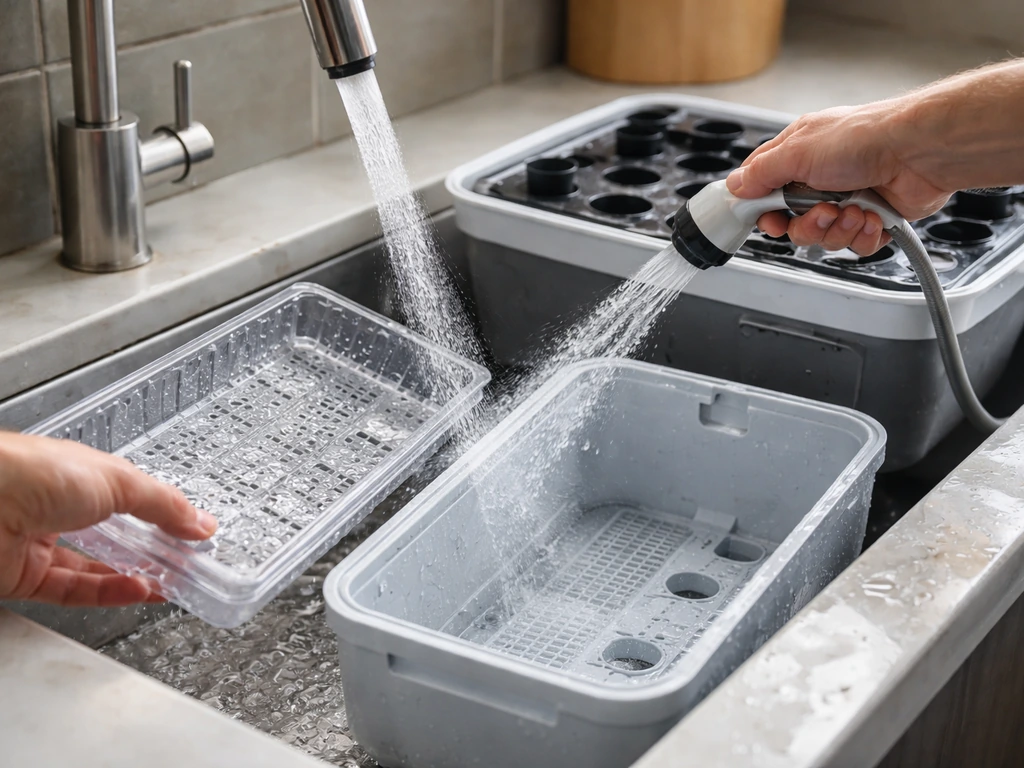
- Rinse the reservoir and all trays with clean water before first use. Don't skip this, there's often manufacturing residue inside.
- Assemble the grow channel or net pot tray on top of the reservoir according to the diagram in your manual.
- Thread the tubing from the pump to the delivery point (usually the top of the grow channel or directly to each pod site).
- Mix your nutrient solution in a separate container first, following the label ratio exactly. Add nutrients to water, not water to nutrients. Then retest pH after the concentrates dissolve, since adding nutrients almost always shifts the pH.
- Pour the mixed solution into the reservoir. Most countertop kits have a fill line marked on the reservoir wall.
- Drop in the air stone and connect it to the air pump if your kit uses one. This keeps the water oxygenated so roots don't drown.
- Place grow pods or net pots into their sites. If you're starting seeds, seat the pods gently so they don't fall through.
- Prime the pump: plug it in and let it run for about 1 minute to push air out of the lines before you start the full cycle. Some kits (like Hydro Harvest-style systems) specify this priming step explicitly in their assembly instructions.
- Set the light timer according to your manual. Most seed-starting and hydroponic kits target around 16 hours of light per day for vegetative growth.
- Check for leaks at every connection point before walking away.
Mushroom cultivation kits
- Remove the substrate block or bag from its outer packaging. Do not break it open yet.
- Inspect the block for signs of green, black, or pink mold. A healthy block is white or off-white throughout. If you see color contamination, contact the seller before proceeding.
- Set up the humidity tent or fruiting chamber according to your manual. Most kits use a simple plastic bag tent that sits over or around the block.
- Cut or fold the bag opening as directed (usually a few inches above the substrate surface) to allow fresh air exchange.
- Place the kit in a warm spot out of direct sunlight. Avoid sealing it completely in a cabinet or bin, since lack of fresh air is one of the most common causes of failure.
- Begin misting the interior walls of the tent or bag immediately, not the block surface directly. Aim for visible droplets on the walls without pooling water at the base.
- Keep misting at least 2 to 4 times daily from day one.
Seed-starting kits
- Soak or pre-moisten grow sponges or plugs per your manual before seeding.
- Place one seed per cell unless your kit specifies otherwise.
- Fill the base tray with water to the indicated level so wicking can begin.
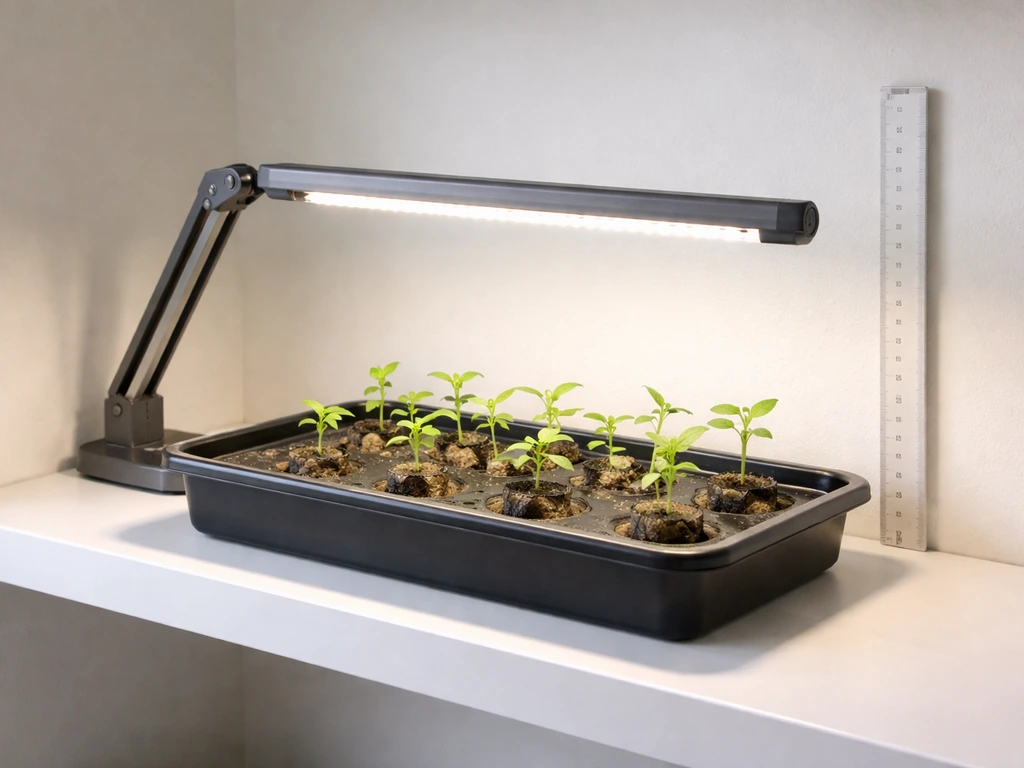
- Position the grow light at the height specified in your guide. Too high and seedlings stretch; too low and you risk heat stress.
- Set the built-in timer or plug the light into an outlet timer. Most kits default to 16 hours on, 8 hours off.
- Add liquid nutrients per the schedule in your seed pod kit booklet, usually starting a few weeks after germination rather than at the very beginning.
Getting the environment right (light, water, nutrients, temperature, humidity)
The environment is where most kits succeed or fail after setup. Getting the numbers roughly right matters a lot more than people expect.
Light
Hydroponic and seed-starting kits with integrated LED grow lights are designed to be your plant's only light source, so placement really matters. Follow your manual's height recommendation exactly. Most built-in timers on consumer kits are set to run about 16 hours per day, which is appropriate for leafy herbs and seedlings.
AeroGrow International’s quick-start guide for its indoor greenhouse kit specifies a timer/light schedule running for roughly 16 hours per day Most built-in timers on consumer kits are set to run about 16 hours per day. If your kit doesn't have a built-in timer, use a basic outlet timer set to the same cycle.
Avoid placing the kit in a sunny window at the same time, since natural light on top of grow light hours can stress plants or confuse their internal clocks.
Water and nutrients
For hydroponic kits, top off the reservoir with plain water between full nutrient changes to compensate for evaporation. Don't just keep adding full-strength nutrient solution, or you'll build up salt concentrations that burn roots. Full nutrient solution changes every 1 to 2 weeks is typical for most countertop systems. Always retest and adjust pH after mixing, targeting the range in your manual (usually 5.5 to 6.5 for most crops).
For seed-starting kits, the grow media or sponges handle moisture delivery through capillary action, so your main job is keeping the base tray filled to the right level without letting plants sit in stagnant water for too long.
Temperature and humidity
Most hydroponic and seed-starting kits do fine in normal room temperature (65 to 78 degrees Fahrenheit). Mushroom kits are more sensitive. Oyster mushroom fruiting ideally happens at 65 to 75 degrees Fahrenheit with relative humidity between 85% and 99% RH during fruiting. If you're growing oysters specifically, some kit instructions target 90 to 99% RH as the fruiting range. A cheap hygrometer placed near your kit will tell you whether you're hitting those numbers without guessing. If you want deeper grow creature instructions, focus on dialing in the same humidity and fresh-air exchange targets your kit specifies.
Fresh air exchange is critical for mushroom kits in a way that doesn't apply to hydroponic setups. Keeping the kit sealed up in a closet or cabinet without airflow is one of the fastest ways to get a bad result. A slightly open tent or regular daily ventilation is enough.
Seedling, mushroom, and hydro maintenance basics
Hydroponic maintenance
- Check reservoir water level every 2 to 3 days and top off with plain pH-adjusted water as needed.
- Do a full nutrient solution change every 1 to 2 weeks.
- Rinse the reservoir and any tubing when you do full changes to prevent algae and salt buildup.
- Check pump and air stone function every week. A pump that sounds labored or a stone that bubbles weakly may be clogging.
- Keep the reservoir covered or shaded. Light exposure to the nutrient solution grows algae fast.
Mushroom kit maintenance
- Mist the tent walls and interior surfaces 2 to 4 times daily, never pouring water directly onto the block or mushrooms.
- Ventilate the tent for a few minutes each time you open it to mist.
- Harvest mushrooms just before the caps fully flatten and the edges begin to wave or curl up. Waiting too long drops quality fast.
- After the first flush, soak the block in cold water for several hours to rehydrate it, then resume misting for a second flush.
Seed-starting kit maintenance
- Refill the base tray every few days or whenever the sponges feel dry to the touch.
- Begin adding liquid nutrients per your kit's schedule, typically a few weeks after germination.
- Raise the light as plants grow taller to maintain the recommended distance from the canopy.
- Thin seedlings to one per cell if multiple seeds germinated in the same pod.
Common setup mistakes and troubleshooting fixes
Most problems with grow kits trace back to a small set of repeatable mistakes. Here's how to diagnose and fix the most common ones.
| Symptom | Likely Cause | Fix |
|---|---|---|
| Pump running but no flow through lines | Air lock or clog in tubing | Disconnect the tubing, flush with water, reconnect and prime again for 1 minute |
| Green slime building up in reservoir | Algae from light exposure | Cover the reservoir to block all light, do a full solution change, rinse with diluted hydrogen peroxide |
| Seedlings tall and thin (leggy) | Grow light too far away or too few hours | Lower the light or increase to 16 hours per day |
| Mushrooms with long stems and tiny caps | Not enough fresh air exchange | Open the tent more frequently, fan gently for a few minutes per session |
| Brown or dry edges on mushroom pins | Humidity too low | Increase misting frequency to 4+ times daily |
| Slimy or rotting mushrooms | Too much direct water or poor airflow | Stop misting the block directly, mist only the walls, improve ventilation |
| No germination after 7 to 10 days | Seeds too dry, wrong temperature, or old seeds | Check moisture levels, confirm room temp is in range, contact seller if seeds were included in kit |
| No mushroom growth after 2 weeks | Temperature or humidity out of range | Check both with a thermometer/hygrometer and adjust before assuming the kit is defective |
If you have a mushroom kit and growth is slow or stalled, check temperature and humidity first before anything else. That single step resolves the majority of slow-growth problems. For hydroponic kits, algae and pump clogs are the two most common failure modes, and both are prevented almost entirely by keeping the reservoir covered and doing regular cleanings.
Operating tips, safety, and what to do if something fails
Safety basics
- Keep electrical components (pumps, lights, timers) away from standing water. Don't plug in a pump while your hands are wet.
- Use food-safe containers for mixing nutrient solutions. Rinse any container thoroughly before using it for solution mixing.
- Wash your hands before handling mushroom substrate or seedlings to avoid introducing contaminants.
- Store nutrient concentrates in a cool, dark place away from children and pets. Most hydroponic nutrient solutions are not food-safe in concentrate form.
- Never mix different nutrient concentrates directly together before diluting in water, since they can react and become less effective or precipitate out.
When the kit just isn't working
Give any grow kit at least the minimum time its manual specifies before calling it a failure. Be sure to follow the grow jar instructions in your manual, since timing and environment requirements can vary by kit. Mushroom kits need patience: pins can take 7 to 14 days to form even under good conditions.
If you are using a bag-based mushroom kit, follow the grow kit in a bag instructions for fruiting conditions and timing Mushroom kits need patience: pins can take 7 to 14 days to form even under good conditions. . Hydroponic seedlings need 3 to 7 days for germination. If you've followed the setup correctly and nothing is happening past those windows, run through the troubleshooting table above one more time.
After you get to the point where you are troubleshooting or making adjustments, use the grow bottle instructions that came with your specific kit model to keep everything on the right schedule. Often the problem is humidity, airflow, or light hours, not a defective kit.
If you genuinely believe the kit arrived defective, document it with photos and reach out to the seller or manufacturer directly with your model number and serial number on hand. Most reputable brands will replace a kit that was dead on arrival, especially if you can show you followed the setup instructions. Keep the original packaging until your first successful harvest, since some return and replacement processes require it.
Tips that make a real difference
- Take a photo of your kit setup on day one so you have a baseline to compare against when troubleshooting later.
- Write the date you started on a piece of tape stuck to the kit. It sounds low-tech, but knowing exactly how many days have passed is useful when you're diagnosing slow growth.
- Don't move a mushroom kit once it's started fruiting. Disturbance stresses the mycelium.
- For hydroponic kits, keep a small bottle of pH-up and pH-down solution nearby. You'll need to adjust pH every time you mix a fresh reservoir.
- If your kit came in a bag format rather than a rigid device, the setup process is similar but more flexible. Grow kit in a bag setups often simplify some of the assembly steps since the growing environment is already partially contained.
- Kits that use specialized containers (grow jars, grow buckets, grow bars, grow bottles) each have unique ventilation and moisture management needs, but the core principle of maintaining the right humidity and avoiding direct water contact with growing material applies across all of them.
The most important thing you can do is stay consistent. Grow kits don't need perfection, they need reliable conditions. Check on yours daily, make small adjustments when something looks off, and trust the process. For safety, follow the grow safe instructions in your manual and double-check any handling, cleaning, and electrical guidance before adjusting the kit. Most kits are genuinely forgiving as long as you don't let a problem go unaddressed for days at a time.
FAQ
My grow kit instructions say to clean first, but how do I know what cleaning method is safe for my specific kit?
Use the manual’s listed cleaning agents and contact time, because reservoir, tubing, and grow-bag materials can react differently. If the manual is vague, start with warm water only for the first clean, then switch to a manufacturer-approved cleaner for the next maintenance cycle. Never mix chemicals, and avoid soaking any electronics (pumps, sensors, LEDs) beyond what your manual explicitly allows.
What should I do if my kit has a timer, but the light height and schedule still seem wrong?
Treat the height setting as the primary control, then fine-tune the schedule. If you see leaf tip burn, bleaching, or wilting soon after setup, lower the light intensity by increasing the height (or reducing light duration) rather than extending hours. If your kit has no timer and you use a plug timer, make sure it is set to the full photoperiod the manual targets (for example 16 hours), not just the period you are home to check on it.
How can I tell whether my hydroponic issue is salt buildup versus a pH problem?
If plants look scorched or stressed while the pH is still near target, salt accumulation is more likely. If the water pH is drifting upward or downward after you adjust, it usually points to nutrient mixing errors or water chemistry. Retest after mixing, not after topping off, and always compare your current readings to the specific pH range stated for your kit model.
Do I really need to cover a hydroponic reservoir, and what if my kit did not include instructions for it?
Covering helps prevent algae because it limits light reaching the nutrient solution. If your kit does not include a cover, use the manufacturer’s recommended splash cover or opaque lid, and confirm it does not obstruct the pump intake or any float sensors. Don’t improvise covers that reduce airflow around electronics or create gaps where light can leak in.
My seed-starting tray seems either too wet or too dry, how do I avoid overcorrecting?
Adjust in small steps and allow the media to respond before changing again. For capillary systems, the base tray level matters more than frequent top-ups, because the sponges or media buffer moisture changes slowly. If you keep adding water daily because the tray looks low, you can end up with stagnant water between cycles, so aim for the tray fill level your manual describes and only adjust after a full day.
What hygrometer should I use for mushroom kits, and where should I place it?
Choose a hygrometer that can measure high humidity accurately and repeatably, then place it close to the fruiting area rather than on the opposite side of the room. If your sensor reads differently than the kit’s own guidance, recalibrate or reposition it before changing humidity targets. Also avoid placing it directly in contact with wet surfaces, which can cause false high readings.
My oyster mushroom fruiting is not progressing, how long is too long before I change conditions?
First verify you have waited through the kit’s pinning window (often about 7 to 14 days under good conditions). If you have done that, change one variable at a time, typically temperature or fresh-air exchange, then hold the new setting steady for at least 24 to 48 hours before reassessing. Sudden swings in humidity or airflow can delay progress even when the numbers temporarily look “correct.”
Fresh-air exchange is confusing for mushroom kits, what does “not sealed” actually look like in practice?
Use the kit’s guidance on ventilation size and frequency, but as a practical approach, ensure there is a consistent exchange of air rather than leaving the kit fully airtight. A slightly open tent or daily ventilation is often enough, avoid frequent door openings that cause large humidity crashes, especially during the first pin development stage.
If the kit arrived defective, what evidence should I capture besides photos?
Include clear images of the model number, serial number, and the specific component you suspect (pump, LED driver, heater element, tubing connections). Record the setup date and the readings you measured (temperature, humidity, pH if applicable) and confirm you used the manual’s exact initial environment and timing. Keep the original packaging until you receive resolution, since some replacements require it for verification.
How do I prevent common mistakes when switching between different grow kit types (mushroom versus hydroponic)?
Do not reuse “success settings” across kit types, because their control targets differ (light hours, reservoir pH, humidity, and airflow). For example, bright light timing and nutrient salt management are hydroponic priorities, while humidity and fresh-air exchange dominate mushroom outcomes. When in doubt, anchor on the model-specific quick-start guide, then only apply the general sequence (assemble, dial environment, then maintain) from this kind of checklist.