
Fill the coconut husk pellet with about 3/4 cup of warm water, let it expand for a few minutes, then fluff it with a fork. Pack that hydrated medium into your ceramic pot, blank" rel="noopener noreferrer">press your aloe seeds gently onto the surface with a light covering of medium, mist it, cover loosely with plastic wrap, and set the whole thing somewhere warm and bright. That's the core of it. If you are using a basil grow kit, follow similar seed-starting steps, but use basil-specific timing and care for best results basil grow kit instructions. The details below will walk you through every step, help you match the instructions to your exact kit version, and tell you what to do when things go sideways.
Buzzy Aloe Grow Kit Instructions: Step-by-Step Guide

Marcus Thornfield
8 Jul 2026
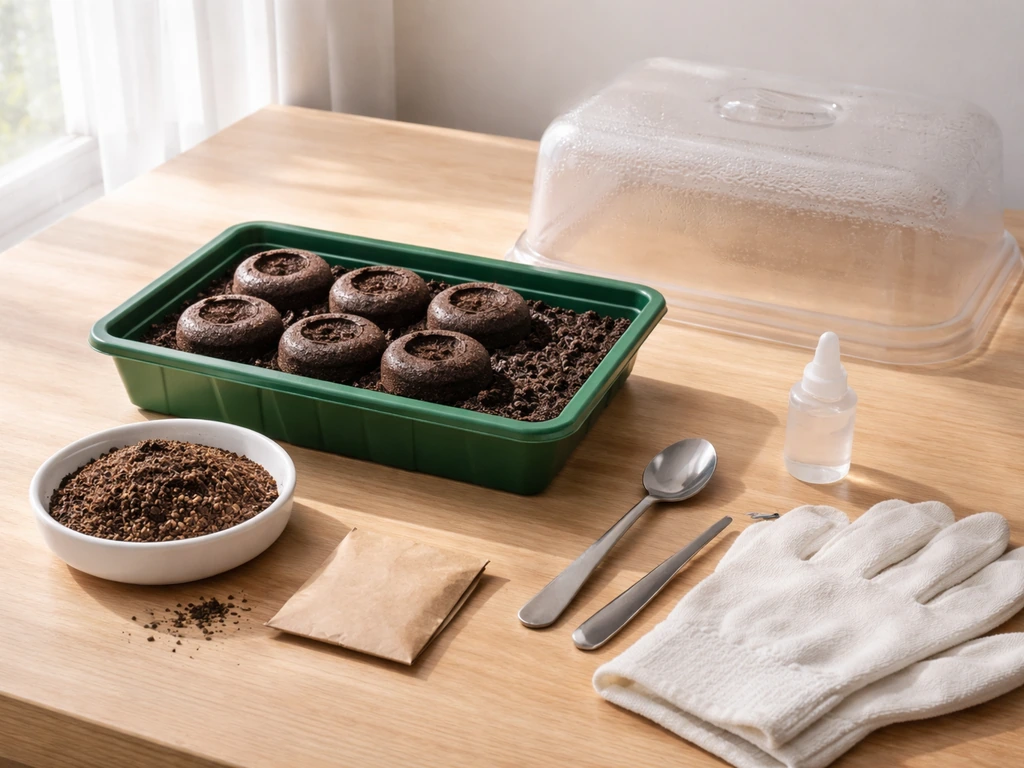
What's in your Buzzy Aloe kit (and how to check your version)
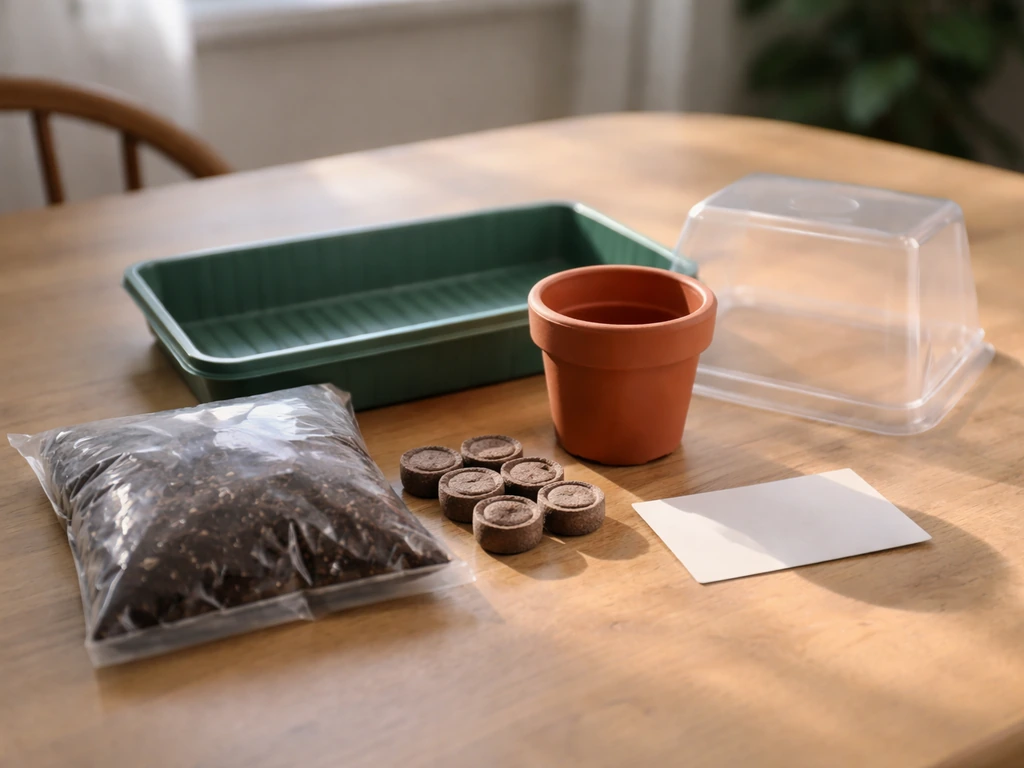
Buzzy has released the aloe grow kit in at least a couple of distinct versions, and the one you have matters for following instructions correctly. The two most common versions you'll come across are the Peaceful Pot Succulent Aloe Grow Kit (the smiling-face ceramic planter) and the Crackle Ceramic Aloe Grow Kit (a textured decorative ceramic pot sold through retailers like Kohl's). There's also a Mini Desert Grow Kit that includes aloe seeds alongside cactus and moss rose in a 3-pack format. The core contents are very similar across all versions, but the pot shape, number of pellets, and included instruction sheet can vary.
Before you start, lay everything out on a table and match it against this list: The Kohl’s retail listing for the Buzzy Seeds Crackle Ceramic Aloe Grow Kit states the kit includes a decorative ceramic pot, growing medium, seed packet, and growing instructions (with aloe as the seed variety) complete kit includes decorative ceramic pot, growing medium, seed packet, and growing instructions.
- Ceramic or decorative pot (the planter itself, with no drainage hole in most versions)
- One or more dehydrated coconut husk growing medium pellets (small brown discs)
- A seed packet labeled aloe (non-GMO in current versions)
- A printed instruction sheet
- Optional: plastic wrap or a small bag for humidity (not always included, but called for in setup)
If you're missing anything, check inside the pot itself and under any tissue paper in the box. If your instruction sheet differs from what's described here, trust the sheet over this article for exact measurements, since Buzzy does update kit contents between batches. The steps below cover the most current guidance and are a reliable baseline for any version.
Quick start: where to put it and what to set up today
The Buzzy aloe kit does not include a grow light or any electrical components. This is a window-and-sunlight setup, which is actually perfect for aloe since it's a succulent that does well in bright, indirect or direct natural light. Pick a south- or east-facing windowsill if you're in the northern hemisphere. You want bright light for most of the day, but direct harsh afternoon sun through glass can cook seedlings before they're established, so a spot with morning sun or filtered afternoon light is ideal during the germination phase.
Temperature matters more than most people realize with aloe seeds. Aim for a consistent 65 to 80 degrees Fahrenheit (18 to 27 degrees Celsius). Avoid spots near air conditioning vents, drafty windows, or heating vents that cycle on and off. A consistent warm room is far better than a technically sunny but temperature-swinging spot. If your home runs cool, the top of a refrigerator or near a warm appliance can add a few degrees during germination.
Planting step by step: medium prep, seeding, and first watering
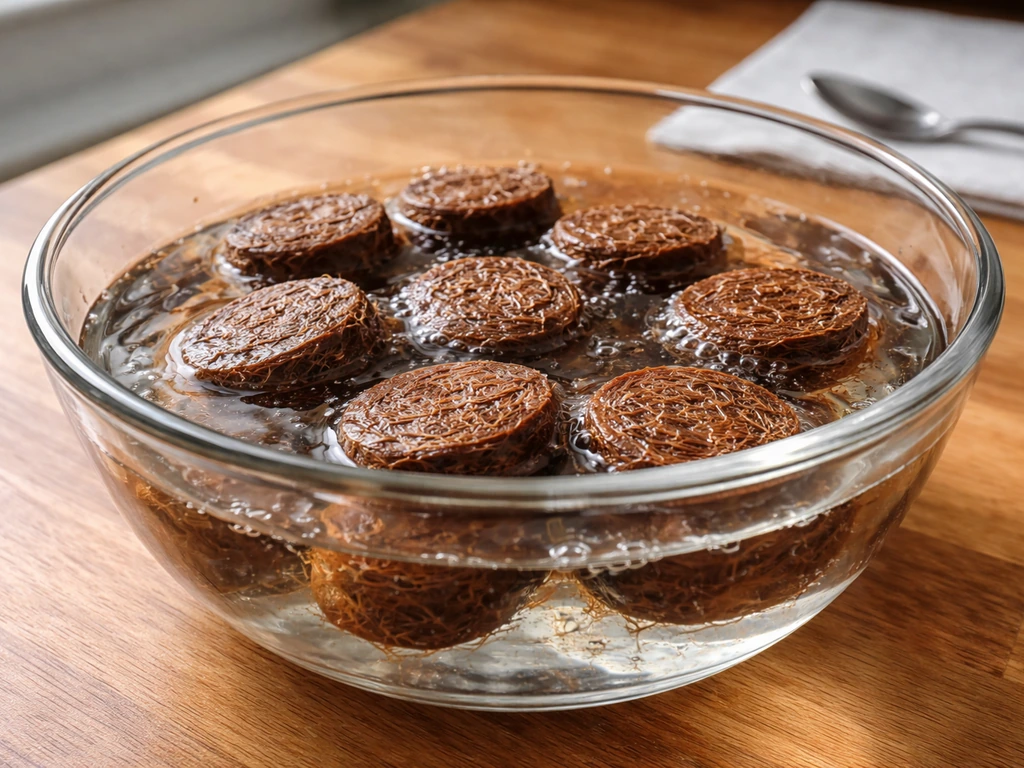
This is where most people either nail it or make a mistake that affects everything downstream. Go slowly here. If you have a Buzzy basil grow kit, the same idea applies, but follow the basil-specific instructions for seeding depth, light, and watering timing buzzy basil grow kit instructions.
- Hydrate the pellet first: Place your coconut husk pellet(s) in a bowl and pour approximately 3/4 cup of warm (not boiling) water over them. Let them sit for 3 to 5 minutes. The pellet will expand dramatically, roughly 6 to 8 times its dry size. If you have the 3-pack kit, hydrate each pellet separately in its own basin.
- Fluff the medium: Once fully expanded, use a fork to break apart and fluff the coconut husk into an even, loose texture. It should look like dark, moist potting soil. If any hard chunks remain, add a small splash of water and keep working it.
- Fill the pot: Spoon the hydrated medium into your ceramic pot, pressing it gently but not packing it tightly. Leave about a 1/2 inch of space at the top rim so you have room to work and water.
- Sow the seeds: Open the aloe seed packet. Aloe seeds are small and flat. Place them on the surface of the medium, spacing them out if you have multiple seeds. Gently press each one down slightly so it makes contact with the medium, then sift a very thin layer of medium (barely 1/8 inch) over the top. Do not bury them deep. Aloe seeds need light to germinate well.
- First watering: Use a spray bottle set to a fine mist. Mist the surface 6 to 10 times until it looks evenly damp but not pooled or soggy. This is all the water you need right now.
- Cover for humidity: Stretch a piece of plastic wrap loosely over the top of the pot, or use a small clear bag draped over it. This holds in humidity during germination. Leave a tiny gap or poke a couple of small holes so there's minimal airflow and the medium doesn't dry out in hours.
- Set it in your chosen warm, bright spot and leave it alone.
What to expect in weeks 1 through 4
Aloe is not a fast germinator. Expect to wait 2 to 4 weeks before you see anything poking through the surface, and that's completely normal. If you’re also growing a buzzy mini rose from the kit, the instructions are similar, but you’ll want to watch moisture and warmth closely during germination buzzy mini rose grow kit instructions. Don't panic and don't start digging around in the medium to check on the seeds. The most common mistake in week one is watering too much out of anxiety. Resist it.
Week 1 and 2: the waiting phase
Check the medium every 1 to 2 days by pressing a finger lightly on the surface. It should feel like a wrung-out sponge: slightly damp but not wet. If it feels dry, mist it 4 to 6 times with your spray bottle. Do not pour water in. The plastic cover should stay on during this phase. Keep the kit in its warm bright spot and try not to move it around.
Week 3 and 4: germination and first seedlings
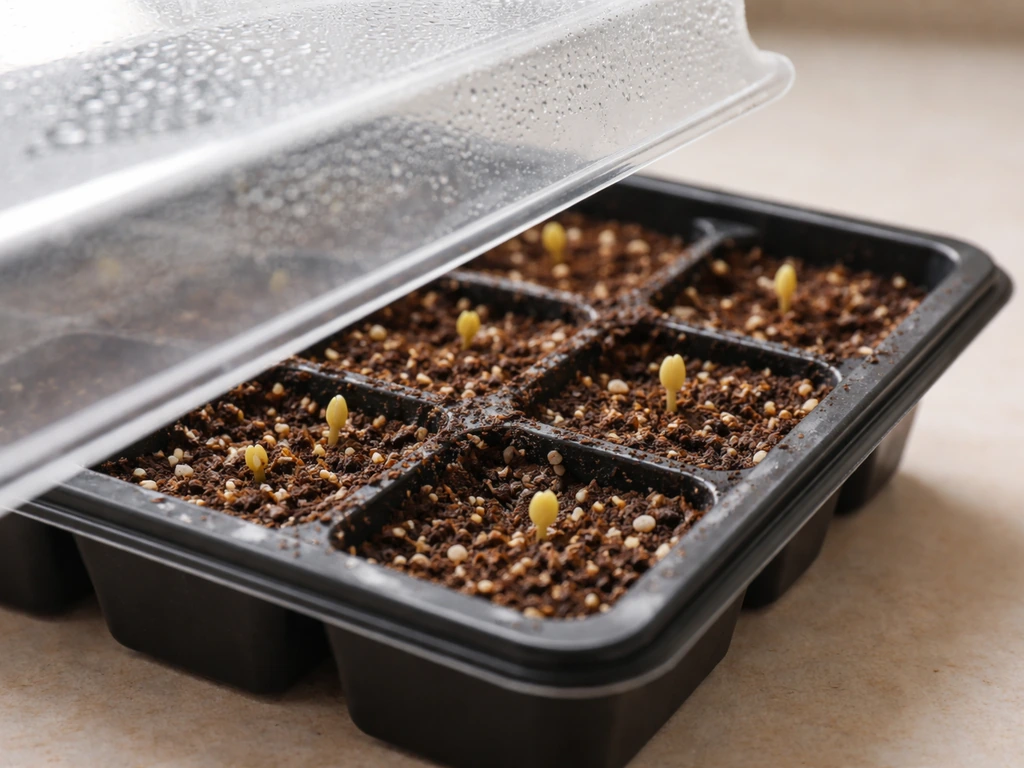
Once you see small pale green or yellowish sprouts (they'll look like tiny pointy nubs), that's your signal to remove the plastic cover. From this point, switch from plastic-cover humidity management to open-air care. Reduce your watering frequency and let the top surface of the medium dry slightly between mistings. Aloe seedlings are built to handle short dry periods and they struggle far more with wet conditions than dry ones.
Once the seedlings develop two tiny leaves (their first true leaf pair), you can begin feeding them with a liquid plant fertilizer mixed at half-strength. A balanced all-purpose fertilizer works fine at this stage. Don't fertilize before this point.
Ongoing care once your aloe is established
After the first month, your aloe seedlings are still small but becoming proper plants. The care routine simplifies significantly from here. Aloe is drought-tolerant by nature, so less is genuinely more when it comes to watering.
Light
Keep the pot in a bright window with at least 6 hours of indirect or direct light per day. Aloe can handle direct sun well once established, but if you notice the leaves turning red or brown at the tips, it's getting too much intense light and you should move it back slightly. If the leaves are stretching out and leaning toward the light source, it's not getting enough and needs a brighter spot or to be rotated regularly.
Watering schedule
Once established, water your aloe roughly every 2 to 3 weeks in spring and summer, and even less in fall and winter. The rule is: stick your finger about an inch into the medium. If it's still moist, wait. If it's dry all the way down, it's time to water. Water thoroughly until it runs through (if your pot has drainage), then don't water again until it's dry. If your Buzzy ceramic pot does not have a drainage hole, be especially careful not to overwater, since water will just sit at the bottom and cause root rot.
When to repot
The Buzzy ceramic pots are decorative-sized, not designed for long-term growing. Once your aloe seedlings are a few inches tall and roots start appearing at the drainage hole (or the plant looks crowded), it's time to move them into a larger pot with dedicated succulent or cactus potting mix and a proper drainage hole. For a single plant, a 4-inch pot is a good next step. If you grew multiple seedlings in the same pot, separate them gently at transplant time and give each its own space.
Common problems and how to fix them
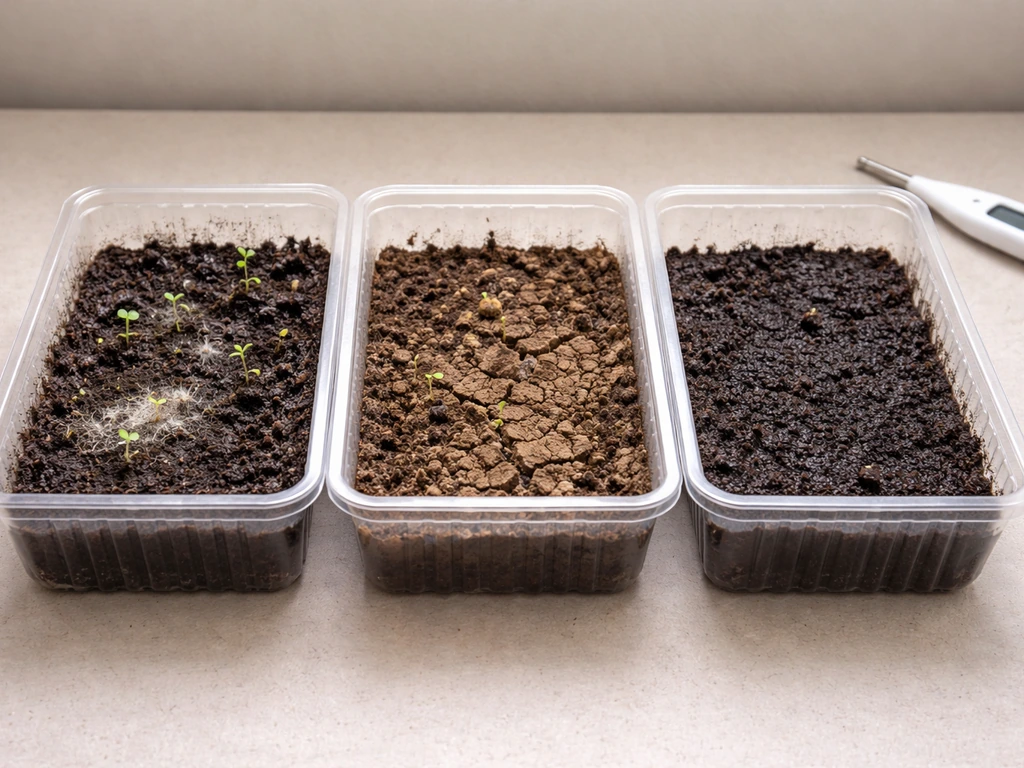
| Problem | Most Likely Cause | Fix |
|---|---|---|
| No sprouts after 4 weeks | Seeds too cold, buried too deep, or medium too dry or too wet | Check temperature (needs 65-80°F), confirm seeds aren't deeper than 1/8 inch, adjust moisture level and re-cover with plastic |
| Mold or white fuzz on the medium surface | Medium too wet, too little airflow, sitting water in pot | Remove plastic cover, reduce watering, improve airflow, remove visible mold with a spoon if it's spreading |
| Green or black algae on medium or pot sides | Too much moisture combined with light hitting wet medium | Let medium dry slightly, mist less frequently, consider placing a thin layer of dry sand on top of medium |
| Seedlings wilting or collapsing | Overwatering or root rot (most common), or underwatering | Check medium: if soggy, stop watering and let dry out; if bone dry, mist gently; look for soft or brown roots |
| Slow or stunted growth | Not enough light, wrong temperature, or nutrient-depleted medium | Move to a brighter window, check room temp, start half-strength fertilizer once first leaf pair appears |
| Leggy or stretched seedlings | Insufficient light | Move closer to window or rotate pot every few days for even light exposure |
| Pests (fungus gnats, tiny flies) | Overwatered medium attracting gnats | Let medium dry between waterings, place a small yellow sticky trap nearby, consider a thin layer of sand on surface to deter egg-laying |
Troubleshooting checklist and when to contact Buzzy support
Before you give up on a kit, run through this checklist. Most failures trace back to one or two fixable factors. If you're wondering do buzzy grow kits work overall, use this checklist to confirm you didn't miss the most common germination and care issues first.
- Is the pot in a spot that gets at least 6 hours of bright light per day?
- Is the room temperature consistently between 65 and 80°F?
- Did you hydrate the pellet fully before planting (fully expanded, fluffed, and evenly moist)?
- Are the seeds sitting at or just below the surface, not buried deep?
- Are you misting (not pouring) water onto the medium?
- Is the medium staying lightly moist without ever getting soggy?
- Was the plastic cover left on during the first 2 to 4 weeks?
- Has it been at least 4 full weeks since planting?
If you've checked all of the above and still have no germination after 4 to 5 weeks, Buzzy's Grow Guarantee has you covered. They will replace your seed packet for free if seeds don't sprout or seedlings struggle. You need to make your claim within 1 year of purchase and may need proof of purchase. They cover seed replacement, not full refunds, and photos of the packaging and item may be requested. Contact them through their website before attempting any return, since opened products can't be sent back.
Safety notes: pets, kids, and avoiding common mistakes
Aloe vera is mildly toxic to cats and dogs if ingested. The plant itself won't cause serious harm in small amounts but can cause digestive upset, vomiting, or lethargy in pets. Keep the kit out of reach of curious cats who might chew on seedlings, and don't let dogs dig in the pot. For kids, aloe is generally considered safe for external handling, but the gel and sap shouldn't be eaten by young children since it can act as a laxative. Keep the kit on an elevated shelf if you have toddlers who explore with their mouths.
On the overwatering front: the ceramic pots in Buzzy kits often don't have drainage holes, which means water has nowhere to go. This is the single biggest cause of root rot and mold in these kits. If your pot has no drainage, be extremely conservative with water. You can also add a thin layer of small pebbles or gravel at the bottom of the pot before adding medium to create a small reservoir zone that keeps roots slightly above standing water.
Since this kit has no electrical components, there are no power or water-near-electricity concerns to worry about, which is one of its advantages over LED-powered grow kits. If you've been looking at other Buzzy kits like the kitchen herbs version or their mini rose kit, those follow a similar low-tech setup model, but aloe is uniquely forgiving once it's past germination. The main adjustment compared to herb kits is that aloe needs far less water and far more patience in the early weeks.
FAQ
How do I tell if my aloe seeds are actually germinating versus just staying dormant?
Look for tiny pale green or yellowish pointy nubs on the surface, not fuzzy clumps or dark sinking spots. If you see swelling without sprouting, keep the medium at wrung-out sponge dampness and do not dig to “check,” since disturbance is a common reason germination stalls for another couple of weeks.
My medium feels damp but the surface looks dry, should I mist or wait?
Do the finger test 1 to 2 cm down. If that lower layer feels slightly damp (wrung-out sponge), mist lightly instead of soaking, since aloe prefers moisture right at the surface without water pooling deeper in the pellet.
Can I speed up germination by putting the kit in stronger light or rotating it toward the window?
Rotation is fine for even growth, but avoid sudden jumps to intense afternoon sun through glass, since seedlings can get stressed before they are established. If you rotate, do it gently and consistently rather than moving it around daily.
What if my kit’s plastic wrap is stuck too tight and the medium seems too wet?
Keep it loosely covered, with airflow around the edges. If condensation is heavy or the surface stays wet, leave the wrap on but loosen it more, then reduce misting frequency based on the wrung-out sponge feel.
How often should I mist before I see sprouts, and how do I avoid overwatering?
Mist in small bursts, typically 4 to 6 mists only if the medium is dry by the finger test, not on a fixed schedule. Pouring water is a mistake, because it saturates unevenly and raises the risk of rot in decorative pots without drainage.
My seedlings popped up but they look stretched or weak, what should I change?
Increase light consistency by moving the kit to the brightest window spot you have, aiming for at least morning or filtered bright light. Also rotate the pot so one side does not lean, but keep temperatures stable between 65 and 80°F (18 to 27°C).
When I remove the plastic cover, will the seedlings dry out too fast?
They should be fine if you switch to slightly drier cycles. After sprouts appear, mist less often and let the top surface dry slightly between mistings, that small dry period is helpful for aloe and reduces damping-off risk.
Can I fertilize earlier than two true leaves if my seedlings are slow?
Avoid early feeding. Fertilizing before the first true leaf pair can stress fragile roots and encourages excess wet growth when aloe needs controlled dryness. Half-strength only after two tiny leaves appear.
Should I separate multiple seedlings immediately or wait until they are bigger?
Separate when seedlings are a few inches tall or when roots start competing in the same pellet area, but do it at the transplant moment rather than repeatedly. Gentle separation is best done once you are moving to a larger pot with succulent or cactus mix and a drainage hole.
My ceramic pot has no drainage hole, is there still a way to use it without root rot?
Yes, but you must be conservative. You can add a thin layer of small pebbles or gravel to create a reservoir zone, then water only when the finger test shows the medium is fully dry down. For long-term health, upgrading to a proper-drainage pot is the safer plan.
How do I know it’s time to transplant, even if the pot doesn’t look crowded yet?
If you see roots peeking out at the bottom or the plant feels jammed in the medium, transplant sooner rather than later. Decorative pots dry and water inconsistently, so moving to a 4-inch pot with drainage helps you maintain better control.
What watering schedule should I follow once it becomes a mature plant?
Use the finger-depth rule rather than a calendar. In spring and summer, water about every 2 to 3 weeks only if the medium is dry at the depth you check (about an inch). In fall and winter, extend the interval and water even less, since aloe slows growth.
My aloe tips are turning red or brown, does that always mean too much water?
It usually points to light stress or sun intensity, especially if only the tips show discoloration. Move the pot back slightly from harsh glass afternoon sun and reassess. Overwatering problems more often come with mushy stems or consistently wet medium.
Do I need a grow light with this kit?
Not for normal home conditions, since the kit is designed for window light. A grow light can help if your home lacks bright windows, but if you use one, avoid overheating seedlings by starting at a low intensity and keep temperature steady rather than chasing brightness alone.
Can pets or kids handle the kit during setup?
Pets should not chew on the plants, aloe can cause digestive upset if ingested. For kids, external handling is generally fine, but keep the gel and sap away from mouths, and store the kit out of reach during germination when seedlings are most tempting to explore.
If nothing sprouts after 4 to 5 weeks, what should I do first before contacting the guarantee?
Re-check two basics: temperature stability (aim 65 to 80°F, 18 to 27°C) and moisture level using the wrung-out sponge feel. If those match, then contact the Grow Guarantee with photos of the packaging and be ready to provide purchase proof, they replace seeds rather than issuing full refunds.