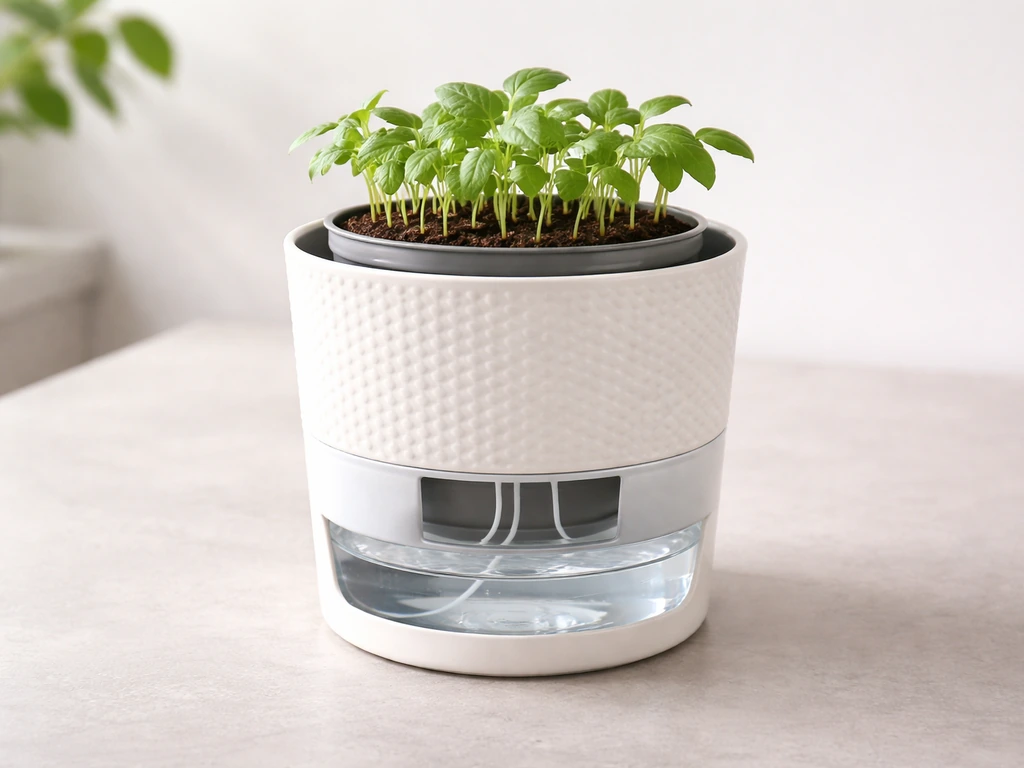
Setting up a Costa Farms Wick & Grow system is straightforward once you understand the one rule that trips up almost every new user: water goes into the reservoir, not the top of the soil. The Waterwick® (that blue-and-white string) pulls moisture from the water below up into the roots above. Get the wick in contact with the water, fill the reservoir to the little window line, and the system does the rest.
Costa Farms Wick and Grow Instructions: Setup and Troubleshooting

Marcus Thornfield
25 Jun 2026
Here's exactly how to do it for your specific pot size, plus what to do when things go sideways. For complete self-watering grow kit instructions, follow the step-by-step setup for your specific Wick & Grow pot size and then adjust based on the plant type you’re growing.
Figure Out Which Wick & Grow Kit You Have
Costa Farms makes at least two meaningfully different versions of the Wick & Grow pot, and the setup steps are different enough that you should confirm which one you have before you do anything else. The two main versions are the 6-inch pot and the 10-inch pot. They look similar from the outside but work differently inside.
| Feature | 6-Inch Wick & Grow | 10-Inch Wick & Grow |
|---|---|---|
| Wick type | Separate blue-and-white Waterwick® string you install | Wick is built into the pot, no separate installation |
| How you fill the reservoir | Lift the grower pot out and pour water directly into the decorative outer pot | Pour water onto the soil surface and let it percolate down into the reservoir |
| Reservoir capacity | Smaller (check fill to window line) | Holds up to 4 cups of water |
| Overflow protection | Fill to the window line; overfilling soaks the soil directly | Blue rubber plug releases excess water if you overfill past the window |
| Water level indicator | Small window on the outer pot | Same window system on the outer pot |
Beyond pot size, Costa Farms also sells Wick & Grow plants in a few different plant categories: foliage houseplants, succulents, and sometimes herb or tropical varieties. The watering system works the same way regardless of plant type, but how often the reservoir empties and how dry you want the soil to get between refills will depend on which plant you have. A succulent in a Wick & Grow pot needs a drier run than a pothos does, so keep your plant type in mind as you read the watering guidance below.
What's in the box (or pot)
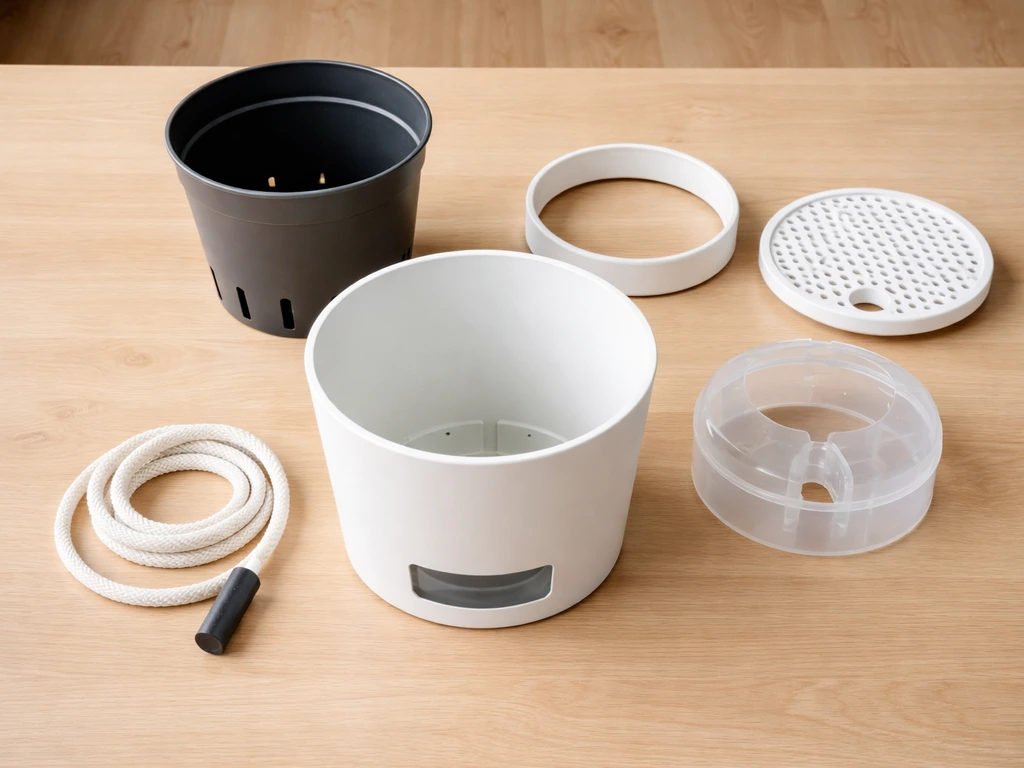
The core components of any Wick & Grow kit are: (1) the decorative outer pot, which has a built-in water reservoir and a small window so you can see the water level, (2) the Waterwick® itself, which is that blue-and-white string that acts like a straw between the water and the soil, and (3) the plant in its grower pot, which sits inside or on top of the outer pot. On the 6-inch version, the Waterwick® snaps into a drainage hole at the bottom of the grower pot, with the wick ends hanging down into the reservoir. If you bought a Costa Farms Wick & Grow plant from a retailer and the wick seems to be missing, check the drainage hole at the bottom of the grower pot. Sometimes the wick gets pushed up during shipping or isn't visible until you lift the grower pot out.
How to Set Up the Wick and Reservoir (Step by Step)
Follow the steps for your pot size. If you need a complete walkthrough, use the Wick and Grow self watering system instructions to match your specific pot Follow the steps for your pot size.. If you have the 6-inch version, do this:
- Lift the grower pot (the plain inner pot with the plant) out of the decorative outer pot and set it aside.
- Check the drainage hole at the bottom of the grower pot. The blue-and-white Waterwick® should be threaded through it and snapped into place, with two ends of the wick hanging down below the pot. If the wick isn't there, thread it through the hole now using the plastic spike included with the kit.
- Pour water into the decorative outer pot. Fill it until the water level reaches the top of the small window on the side of the pot. Do not fill above the window line.
- Set the grower pot back into the outer pot. As you lower it in, make sure the wick ends are hanging down and are submerged in the water. This wick-to-water contact is the whole system. If the wick isn't touching the water, nothing works.
- Check the window again after seating the grower pot. The water line should still be visible at or just below the top of the window.
If you have the 10-inch version, the process is different because the wick is already built in: If you want a complete walk-through of how to use a wick and grow planter from unboxing to day-to-day care, follow the step-by-step setup and troubleshooting sections in this guide how to use wick and grow planter.
- Do not try to lift the grower pot out. The wick is fixed and the pot is designed to stay assembled.
- Water by pouring water onto the surface of the soil. The water will percolate down through the growing medium and collect in the built-in reservoir below.
- Stop adding water when the level in the window reaches the top of the window line. The reservoir holds up to 4 cups.
- If you overfill and water starts draining from the blue rubber plug on the outside of the pot, stop immediately. The plug is an overflow safety valve, not a regular drainage point.
- From this point forward, let the wick draw water from the reservoir as needed. Only add more water (via the soil surface) when the window shows the reservoir is near empty.
The single most important thing to understand: once the system is set up and the reservoir has water, do not pour additional water on top of the soil unless you have the 10-inch version and you're refilling the reservoir that way. On the 6-inch, topping the soil with water defeats the whole purpose of the wick and can cause waterlogging.
Planting Seeds or Starting Fresh Plants
Most Wick & Grow products from Costa Farms come with a plant already growing in the grower pot, so you're usually not starting from seed. But if you're using the Wick & Grow pot as a self-watering container for a new plant or starting seeds in one, here's what to keep in mind.
If you're transplanting an existing plant into a Wick & Grow pot
Use a well-draining potting mix that's appropriate for your plant type. Avoid garden soil or heavy mixes that compact easily, because the wick needs air pockets in the soil to pull moisture upward effectively. Fill the grower pot with your mix, set the plant at the right depth, and press the soil gently around the roots. Thread the Waterwick® through the drainage hole before you add soil if you're using a 6-inch version, so the wick runs up through the root zone. Then set everything up in the outer pot and fill the reservoir as described above.
If you're starting seeds
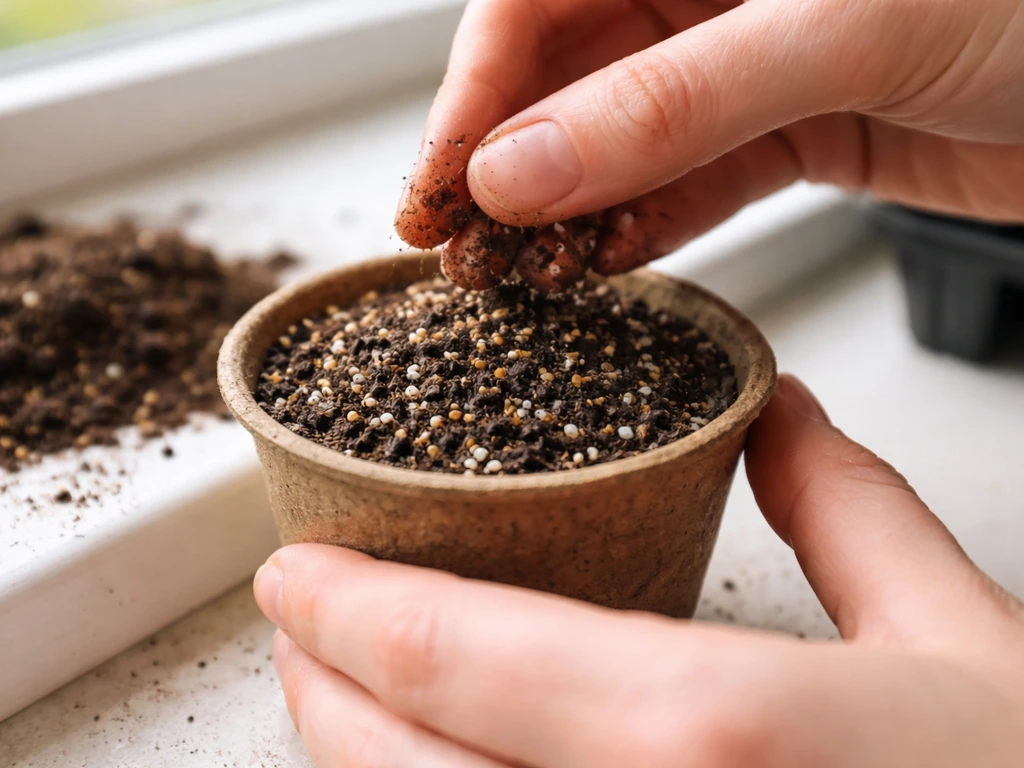
Seeds need warmth and consistent moisture to germinate, and a Wick & Grow setup can actually do a nice job of keeping moisture steady. Fill the grower pot with a seed-starting mix (lighter and finer than regular potting mix), plant your seeds at the depth listed on the packet, and fill the reservoir to the window line. Place the pot somewhere warm: aim for 65 to 75 degrees Fahrenheit for most common herbs and vegetables.
Keep it away from cold drafts and air conditioning vents. Most seeds need darkness or ambient light to germinate, not intense direct sun, so a warm countertop works well during this stage. Once seedlings appear and have their first true leaves, start giving them bright indirect light.
Light, Temperature, and Watering for Healthy Growth
The Wick & Grow system handles the watering mechanics, but you still have to manage the environment. Here's what to target:
- Light: Most foliage houseplants that come in Wick & Grow pots thrive in bright indirect light, like near a window but not in direct afternoon sun. Herbs and fruiting plants generally need more light. If your plant is stretching toward the light source or looking leggy, move it closer to a window or add a grow light.
- Temperature: 60 to 80 degrees Fahrenheit covers most of Costa Farms' Wick & Grow plant lineup. Avoid spots near exterior doors in winter, heating vents, or air conditioning units blowing directly on the plant.
- Reservoir refills: Watch the water level window. Refill when the water level gets close to the bottom of the window. Don't wait for it to go completely dry, because if the wick dries out it can lose its ability to draw water efficiently. But also don't top it off constantly before it's had a chance to drop, or you risk keeping the soil too saturated.
- Humidity: If you're growing tropical houseplants, they'll appreciate 40 to 60 percent relative humidity. If tips are browning, low humidity is often the cause and has nothing to do with your watering system.
One thing worth noting: some plants simply don't love being in a system that keeps moisture constantly available at the root level. Succulents and cacti in particular want to dry out between waterings. If you have a succulent in a Wick & Grow pot, let the reservoir run down completely before refilling, and check that your plant isn't showing signs of overwatering (see the troubleshooting section below). This is something the Wick & Grow system requires a bit of user judgment on, and it's worth adjusting to match your specific plant's preferences.
Troubleshooting: What to Do When Things Go Wrong
Seeds aren't germinating
First, check the timing. Most herb and vegetable seeds take 5 to 14 days to germinate, so if you're only on day 3, wait it out. If it's been two weeks and nothing has happened, check the soil temperature (cold soil is the most common culprit) and make sure the reservoir isn't empty. Also check that your seeds weren't too old or stored in a hot car or humid cabinet before planting, both of which kill seed viability.
Plant is wilting or looking dry
If the plant looks thirsty, check the reservoir window first. If it's empty, refill it immediately. If the reservoir has water, the problem might be that the wick has dried out and isn't drawing properly. On the 6-inch version, lift the grower pot out and confirm the wick ends are actually submerged in the water. Sometimes the wick can get pushed up during handling. On the 10-inch version, pour a small amount of water onto the soil surface to directly hydrate the roots while the wick reestablishes contact.
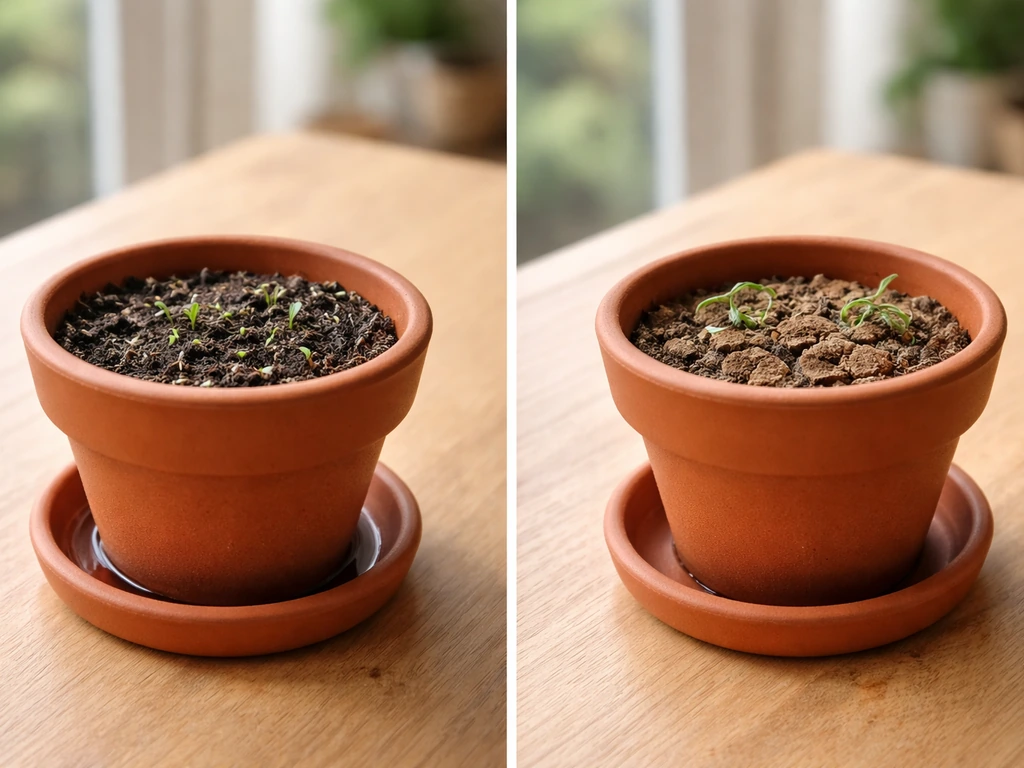
Soggy roots, yellowing leaves, or mushy stems (overwatering symptoms)
This is the most common problem, and it usually comes from overfilling the reservoir. If you fill the reservoir above the window line on the 6-inch version, the bottom of the grower pot can sit in standing water, which soaks the soil from below instead of letting the wick control the flow. The roots get waterlogged and start to rot.
Fix it by letting the reservoir drop below the window line before refilling, and check that the water level never goes above the top of the window. If roots are already rotting (mushy, dark, foul-smelling), you'll need to remove the plant, trim the rotted roots, let them dry for an hour or two, then repot in fresh dry mix and restart the reservoir at the correct fill level.
Algae growing in the reservoir or green film on the outer pot
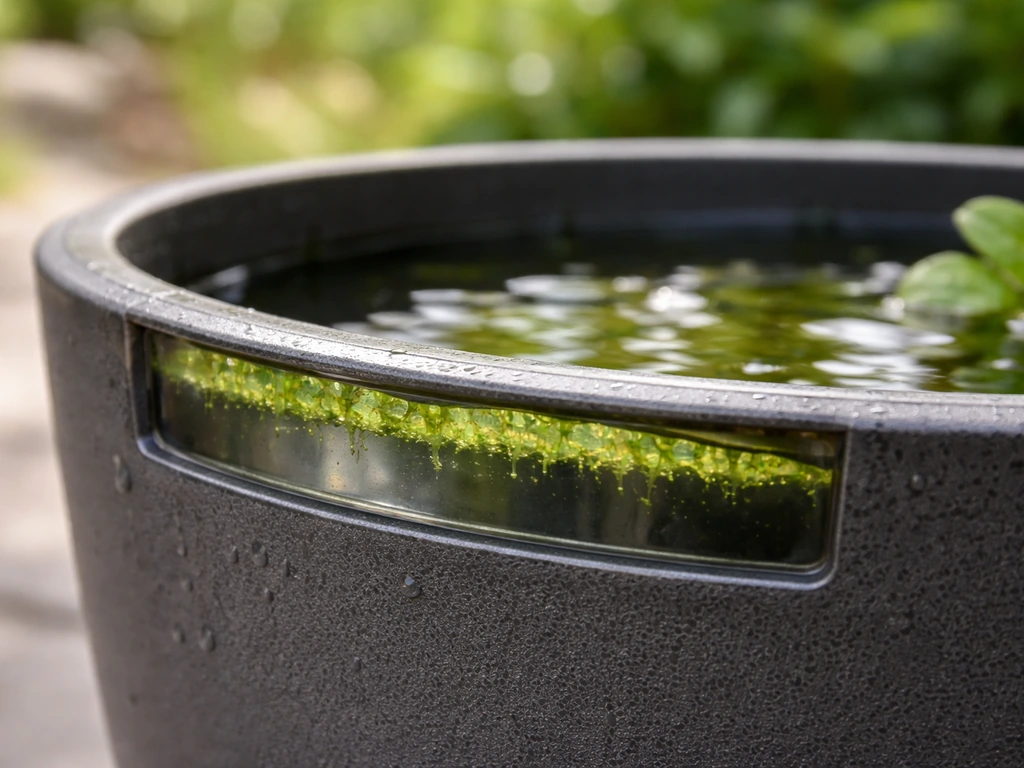
Algae grows when water is exposed to light. If you can see the water in the reservoir through the window or a clear part of the pot, light is getting in and feeding algae. This is mostly a cosmetic annoyance, but heavy algae growth can create odor and compete with the plant. Fix it by keeping the pot out of direct sun, and if it's really bad, empty the reservoir, rinse it out, and refill with fresh water. You can also cover or tape over the water window if it's clear and letting in too much light.
Water isn't being drawn up (wick failure)
If the reservoir is full but the soil stays bone dry, the wick isn't working. On the 6-inch model, take the grower pot out and look at the wick. It may have slipped out of the drainage hole, dried out completely, or been installed incorrectly. Re-thread it through the hole, make sure the ends are dangling into the water, and press the wick gently into the soil from the bottom. Let it sit for an hour and check back. On the 10-inch model, the built-in wick rarely fails outright but can struggle if the potting mix is extremely compacted. Try loosening the top inch of soil gently to improve water movement.
Foul smell from the pot
A bad smell almost always means stagnant water, algae, or root rot. Empty and rinse the reservoir, check the roots for rot, and make sure you're not keeping the reservoir topped off constantly. Let it cycle between near-empty and the fill line, not sitting at max capacity all the time.
When to Harvest or Move On to the Next Stage
What you do after the initial grow stage depends on what you're growing. For herbs like basil or cilantro, you can start harvesting individual leaves or stems once the plant has several sets of mature leaves, typically 4 to 6 weeks after germination. Always harvest from the top, cutting just above a leaf node to encourage bushier growth rather than cutting the whole plant down at once.
For foliage houseplants that came pre-planted in a Wick & Grow pot from Costa Farms, these are long-term plants that stay in their pots for months or years. The Wick & Grow system is designed for ongoing use, not just a starter phase. You'll keep refilling the reservoir, occasionally fertilizing (a diluted balanced liquid fertilizer every 4 to 6 weeks during the growing season works well), and trimming or pruning as needed.
Transplanting out of the Wick & Grow pot becomes necessary when the plant is visibly rootbound, meaning roots are circling the bottom of the grower pot or pushing out of the drainage hole, or when growth has stalled despite good light and proper watering. Move up to a pot one size larger (2 inches more in diameter) and use a fresh potting mix appropriate for your plant type. If you want to keep using the self-watering system, you can set the new grower pot inside a similarly sized Wick & Grow outer pot. If you're transitioning to a regular pot, just be ready to adjust to top-watering again.
Mistakes That Catch Almost Everyone
There are a handful of mistakes that come up again and again with the Wick & Grow system. Here are the big ones and how to sidestep them:
- Filling the reservoir above the window line: this is the number one cause of waterlogged roots. Fill to the top of the window, not above it.
- Watering the soil from the top out of habit: if you pour water on the soil of a 6-inch Wick & Grow while the reservoir is already full, you're doubling up the moisture and creating a soggy mess. Water only goes into the reservoir on the 6-inch model.
- Letting the wick dry out completely: if the reservoir runs bone dry for several days, the wick can lose its capillary action. Check the window regularly and refill before it's totally empty.
- Assuming the wick works the same way on both pot sizes: they're genuinely different. The 10-inch refills through the soil surface; the 6-inch refills through the outer pot reservoir. Using the wrong method causes problems.
- Putting the wrong plant in the Wick & Grow system: plants that need dry-out periods between waterings (succulents, some cacti, snake plants to a degree) are harder to manage in this system. If you have one, let the reservoir run dry between refills.
- Ignoring algae until it becomes a serious problem: a little green in the window is fine, but if the reservoir smells or the water turns murky, clean it out and block the light source.
Your Quick Setup Checklist
Use this to confirm you've done everything right before you walk away and let the system run:
- Confirmed your pot size (6-inch or 10-inch) and understand which fill method applies.
- Waterwick® is installed correctly through the drainage hole and the wick ends are submerged in the reservoir water (6-inch) or the built-in wick is intact (10-inch).
- Reservoir is filled to the top of the window line, not above it.
- Plant is seated in the grower pot at the correct depth with appropriate potting mix for your plant type.
- Pot is placed in a spot with the right light for your specific plant.
- Temperature is between 60 and 80 degrees Fahrenheit and away from drafts or vents.
- You know not to top-water the soil on the 6-inch version.
- You've noted where the water level window is so you can monitor it daily at first.
Once you've got this system dialed in, it genuinely takes a lot of the guesswork out of watering. The wick handles moisture delivery on a needs basis, you just have to keep the reservoir from going empty or overflowing. Give it a few days to settle in and you'll start to see the rhythm of how fast your specific plant drinks.
If you're curious about how self-watering wick systems compare more broadly or want to use this same setup with different types of plants, the general principles of wick and grow self-watering systems apply well beyond just the Costa Farms kit. If you are looking for specific Grow West vape pen instructions, make sure you follow the manufacturer’s steps for charging, filling, and safe use.
FAQ
How do I know whether my wick is pulling water correctly before planting day-by-day?
Fill the reservoir to the window line, then wait 20 to 30 minutes and check the grower pot’s bottom edge through the drainage area (or by gently lifting the pot). The wick should be visibly damp along its length, and the reservoir level should begin to drop slowly. If the reservoir stays full and the wick looks dry, re-seat the wick and confirm the ends are actually submerged.
Can I use different potting mix than what the kit came with?
Yes, but choose a mix that stays airy and does not compact. If you switch to a heavy or moisture-retentive mix, the wick may struggle to pull water upward or the soil can stay waterlogged. A quick check is to pre-moisten the mix: it should hold together lightly but not become paste-like when squeezed.
What should I do if the reservoir empties much faster or slower than expected?
First verify the fill level is correct (at or below the window line) and that the wick ends remain in contact with water. Then adjust for plant and conditions: brighter heat, larger plants, and windy spots increase drinking, while cooler or low-light areas slow it down. If it changes suddenly after a move, inspect the wick contact and look for compacted topsoil that blocks moisture movement.
Is it safe to let the wick run dry completely between refills?
It depends on the plant, but in general letting the reservoir cycle low is normal. For succulents and cacti, letting the reservoir run down completely before refilling is preferred. For moisture-loving foliage or seedlings, avoid frequent prolonged dryness, and refill once the window shows near-empty so the wick does not fully dry out.
How often should I top up fertilizer in a wick system?
Use the reservoir as your guide. Fertilizing schedules can be every 4 to 6 weeks during active growth, but only with diluted fertilizer compatible with your plant. If you recently replaced soil or repotted, wait until new growth appears before starting fertilizer so you do not overload fresh roots.
Can I move the plant to a brighter location while using the Wick and Grow system?
Yes, but do it gradually. Increasing light can raise water demand, so the reservoir may empty faster and the soil can dry more quickly if the wick is not fully saturated yet. Start by moving it partway toward the new light spot for a few days, then monitor reservoir level and overall soil dampness.
My reservoir looks clear but I still see algae. What else can I do besides changing sunlight exposure?
If light is getting in through the water window, cover it more thoroughly. A removable opaque cover or tape that blocks the exact viewing area helps, but also rinse and refill the reservoir when algae is persistent because spores can remain. Keep the system clean and avoid leaving extra water standing outside the pot.
What’s the best way to clean the reservoir without damaging the wick?
Empty the reservoir completely, then rinse the reservoir and the outer pot. Avoid pulling and rubbing the wick aggressively. Let the reservoir dry briefly if you suspect algae or odor, then refill to the correct line and confirm wick contact with water before reinstalling the grower pot.
Can I use the 10-inch version’s “small water on top” method for every problem?
Only use surface watering as a temporary aid, not as a substitute for correct reservoir filling. It can help when the wick loses contact, especially in the 10-inch style, but repeated top-watering can still create uneven moisture patterns. If the reservoir was empty or wick ends were not submerged, fix the root cause first.
How do I handle transplanting out of Wick and Grow without stressing the plant?
Before switching to regular top-watering, gradually adjust moisture. Let the wick system cycle down, then remove the grower pot and minimize disturbance to the root ball if possible. After transplanting, water thoroughly once, then let the top layer dry slightly according to the plant type, instead of resuming constant wet conditions.
What should I check first if leaves yellow even though the reservoir has water?
Yellowing with adequate water often points to environmental or nutrient issues rather than wick failure. Check light level, and confirm the reservoir is not overfilled beyond the window line, since standing water can still damage roots. If growth is otherwise normal, consider whether the plant needs fertilizer and whether the water quality (very hard or highly chlorinated) is affecting it.