You can grow clear, good-looking crystals with a consumer kit in as little as 12 to 24 hours for fast-growing types, or 3 to 7 days for larger, more defined crystals. The process is almost always the same: dissolve a chemical in hot water, let it cool slowly, and give crystals a clean surface to grow on. Whether you're working through a kit's instructions or going fully kit-free with alum from the grocery store, the fundamentals don't change much.
How to Grow Crystals with a Crystal Growing Kit

Marcus Thornfield
1 Jun 2026
Choosing the right kit (or skipping one entirely)
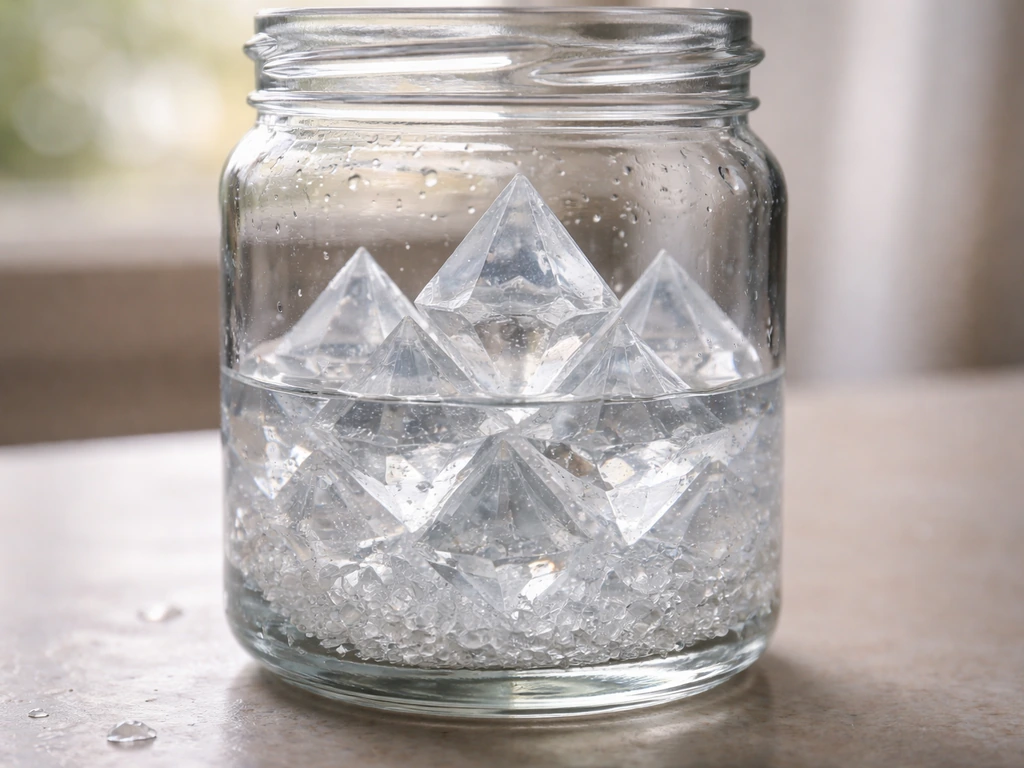
Most beginner crystal growing kits fall into a couple of categories. This Reddit thread about a Smithsonian crystal growing kit discusses users being disappointed when the results do not match the kit's specified solution and seed setup blank" rel="noopener noreferrer">Smithsonian crystal kit failures. Kits like blank" rel="noopener noreferrer">the Thames & Kosmos Crystal Growing kit include multiple chemical types, so you can experiment with different crystal shapes: potassium alum grows regular octahedra (the classic clear geometric shape), sodium sulfate grows fast and dramatic, sodium acetate produces needle-like formations, and plaster or gypsum lets you create crystal geodes. Thames & Kosmos specifically lists “potassium alum crystals that form regular octahedrons” as one of the crystal shapes in its Crystal Growing kit blank" rel="noopener noreferrer">potassium alum grows regular octahedra (the classic clear geometric shape). These multi-experiment kits are great if you want variety and don't mind following more detailed instructions. Simpler single-chemical kits, like those bundled with just alum or borax, are faster to set up and perfect for a first try.
If you're comparing branded kits, there are some meaningful differences in experience. Kits from brands like Science Squad, Project MC2 (crystal jewelry), and Klutz are all designed around slightly different goals: Science Squad leans into the science experiment angle, while Project MC2 and Klutz kits are built around growing crystals you can actually wear as jewelry. If your goal is just big, beautiful display crystals, a standard alum kit or the Thames & Kosmos multi-experiment set is the better pick. If you want something wearable or gift-ready, the jewelry-focused kits are worth a look. If you want klutz grow your own crystal jewelry instructions, choose a jewelry-focused kit so the materials and steps are set up for wearable crystal pieces jewelry-focused kits. If you want project MC2 grow your own crystal jewelry instructions, look for kits designed to turn crystals into wearable pieces you can actually finish.
Going kit-free is a completely valid option. Potassium alum (sold as 'alum' in the spice aisle) and borax (laundry aisle) are the two most beginner-friendly chemicals for home crystal growing. Both are non-toxic, cheap, and produce impressive results without any kit required.
Materials and equipment you actually need
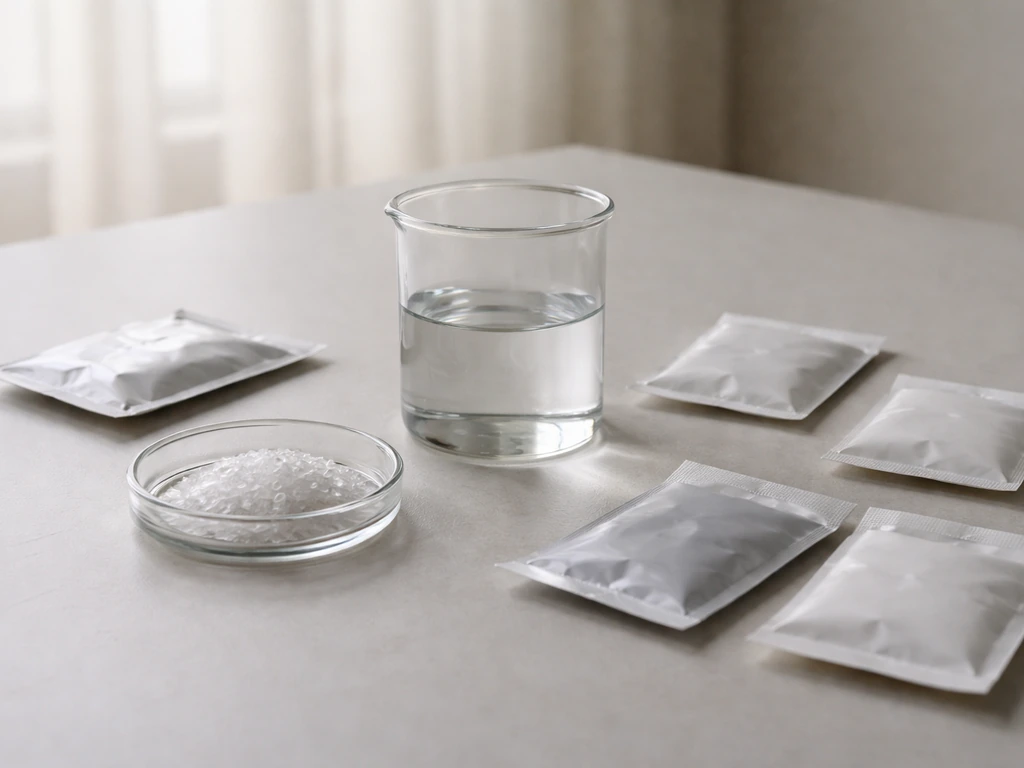
Whether you're using a kit or going solo, here's what you'll actually be working with. Kits usually supply the chemical packets, a growing vessel, and sometimes a seed crystal or string. What they almost never include is the equipment you need to handle hot water safely and cleanly.
- A heat-safe glass jar or cup (at least 250 ml, wider is better for bigger crystals)
- Distilled or filtered water (tap water with lots of minerals can cloud your solution)
- A measuring cup and kitchen scale or measuring spoons
- A stirring stick or spoon (metal or glass, not plastic if using very hot water)
- A small pot or microwave-safe bowl for heating water
- The crystal-growing chemical: either your kit's packet or alum/borax from a store
- Nylon fishing line, thin string, or a pencil to suspend a seed crystal
- A piece of cardboard or foil to loosely cover the jar (keeps out dust without trapping steam)
- Optional: food coloring if you want colored crystals
One thing worth knowing: the container you use matters more than most kits admit. A narrow jar produces taller but thinner crystals. A wide, shallow dish produces broader, flatter ones. If your kit comes with a small plastic cup, it works, but you'll get better results using a glass jar you already have at home.
Step-by-step: growing crystals with a kit
Kit instructions vary by brand, but the core process is almost identical across all of them. Here's how to run it correctly, including the steps most instruction booklets gloss over.
- Read the full instruction sheet before you start. Seriously, do this. Kits like Thames & Kosmos include different packets for different experiments, and using the wrong one is a common first mistake.
- Heat your water to near-boiling (about 90°C / 195°F). Most kits say 'hot water from the tap,' but that's usually not hot enough for a fully saturated solution. Use a kettle or microwave.
- Measure the water carefully. Use the exact amount specified. Too much water means an under-saturated solution and small or no crystals.
- Slowly pour in the chemical packet while stirring constantly. Keep stirring for 2 to 3 minutes until you see no more particles at the bottom.
- If your kit includes a seed crystal or growing disc, place it in the clean jar before pouring in the solution. If you're hanging a seed crystal on string, tie it to a pencil and lay the pencil across the top of the jar so the crystal hangs in the middle of the solution, not touching the sides or bottom.
- Pour the solution through a coffee filter or paper towel into the jar to catch any undissolved particles. Cloudy solution causes cloudy crystals.
- Cover loosely with foil or cardboard and move the jar to a spot with stable room temperature (around 20 to 22°C / 68 to 72°F). Avoid windows with direct sun or drafty areas.
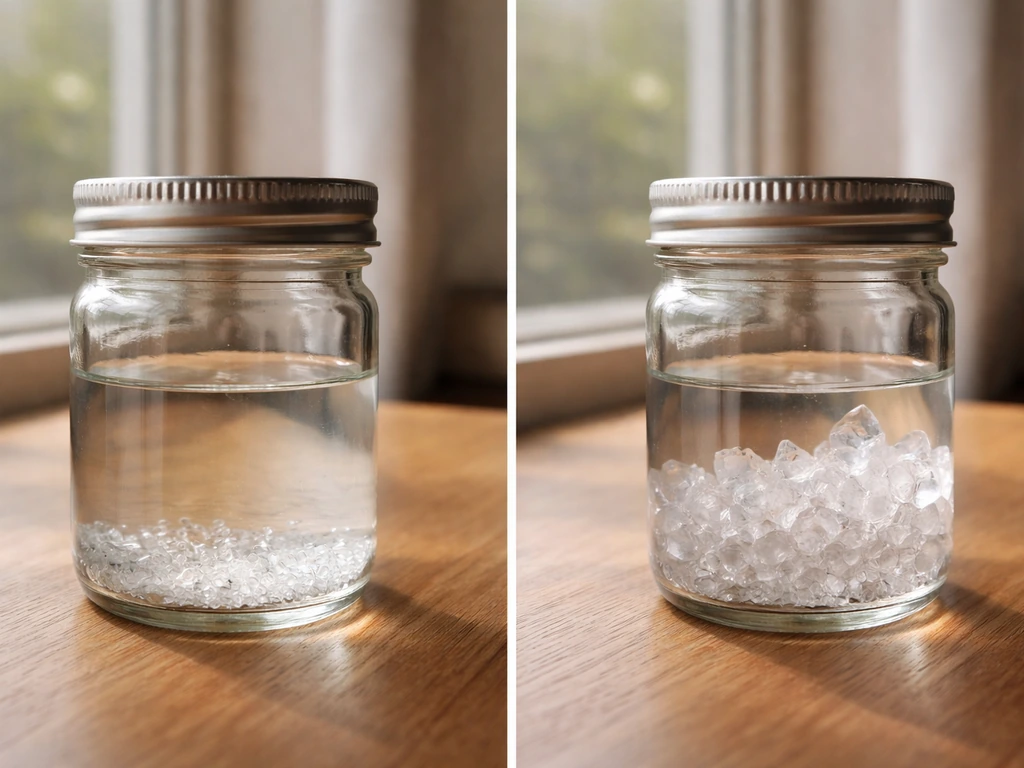
- Leave it completely undisturbed for at least 24 hours. Check at the 12-hour mark to see if growth has started, but don't move or shake it.
- After 48 to 72 hours, your crystal will be visibly growing. If you want a larger single crystal, carefully remove any small crystals that have formed on the jar walls and pour the solution into a fresh container.
- Continue checking daily. Most kit crystals reach a good display size in 3 to 7 days.
Step-by-step: growing crystals without a kit
No kit? No problem. Potassium alum is the easiest chemical to work with and produces beautiful, clear octahedral crystals. You'll find it in the spice or baking aisle of most grocery stores for under $5.
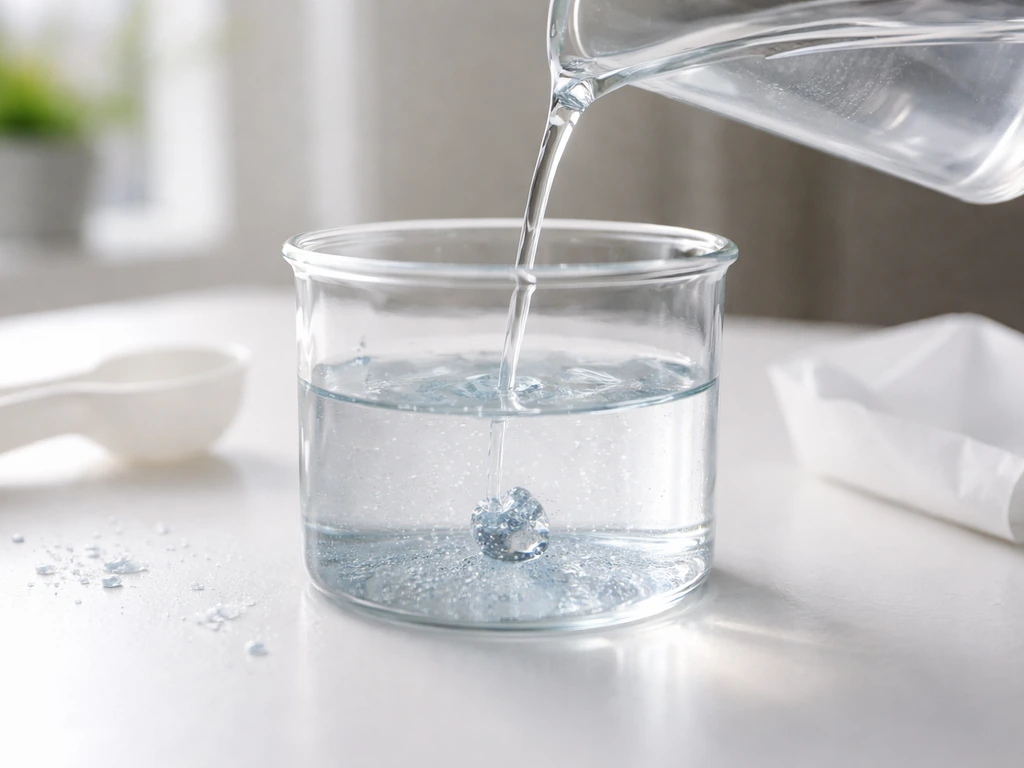
- Make a saturated alum solution: dissolve about 50 grams (roughly 3 tablespoons) of alum into 120 ml (half a cup) of hot near-boiling water. Stir until fully dissolved. If undissolved powder remains after 3 minutes of stirring, add water a tablespoon at a time until it all dissolves.
- Filter the solution through a coffee filter into a clean glass jar. Let it cool to room temperature uncovered. Small seed crystals will appear on the bottom within 1 to 2 hours.
- Pick the best-looking seed crystal (the most symmetrical one) using tweezers or a spoon. Set it aside on a clean plate to dry for 10 minutes.
- Make a fresh batch of saturated alum solution the same way, filter it, and let it cool to room temperature before using it.
- Tie your seed crystal to a piece of nylon fishing line. Attach the other end to a pencil and suspend it in the center of the jar of fresh solution.
- Cover loosely, set in a stable location, and leave it alone. Check daily without disturbing it.
- To grow larger crystals, every 2 to 3 days carefully pour the solution through a filter into a new jar and reheat gently to dissolve any deposits, then cool again before returning your crystal to the jar.
- Your crystal will be harvest-ready in 5 to 10 days at a size of roughly 2 to 4 cm.
Borax works the same way and grows beautiful star-shaped or geometric crystals on pipe cleaners. Use about 3 tablespoons of borax per cup of boiling water, stir until dissolved, then submerge a pipe cleaner shape and leave overnight. Borax crystals often appear within 12 hours.
How to monitor your crystals and get them bigger
The biggest mistake people make is constantly checking and moving the jar. Vibration is the enemy of crystal growing. Set your jar somewhere stable and check it with your eyes only, once a day.
Temperature consistency is the other major factor. Crystals grow because the solution becomes supersaturated as it cools. If the temperature keeps fluctuating (near a heating vent, on a windowsill, or in a drafty hallway), the crystal will grow unevenly and look rough rather than geometric. A kitchen counter away from the stove and windows is usually ideal.
To encourage larger crystals, remove any competitor crystals that form on the jar walls or floor. These 'hitchhiker' crystals steal dissolved material from your main crystal. Use tweezers to carefully lift them out without disturbing the solution. Refreshing the solution every few days (dissolving more chemical into it) also keeps growth going when the solution becomes depleted.
| Chemical | Crystal shape | Typical growth time | Best for |
|---|---|---|---|
| Potassium alum | Clear octahedra | 3 to 7 days | First timers, display crystals |
| Borax | Geometric clusters | 12 to 24 hours | Quick projects, pipe cleaner shapes |
| Sodium sulfate (kit) | Rapid, spiky | Under 24 hours | Dramatic fast results |
| Sodium acetate (kit) | Needle-like | 1 to 3 days | Interesting texture, science experiments |
| Salt (table salt) | Cubic clusters | 3 to 5 days | True kitchen pantry approach |
Common problems and how to fix them
No crystals forming after 24 hours
This usually means your solution wasn't saturated enough. If the water was too cool when you dissolved the chemical, not enough dissolved into it. Try heating the solution again (gently, without boiling it), adding more chemical, stirring until dissolved, filtering, and starting fresh. Also check the room temperature: if it's above 25°C (77°F), the solution may not be cooling enough to trigger crystallization.
Crystals are tiny or stopped growing
The solution is depleted. There's not enough dissolved chemical left to feed further growth. Make a fresh batch of saturated solution, let it cool to room temperature, filter it, then carefully transfer your crystal into the new solution. Growth should resume within hours.
Cloudy or white crystals instead of clear ones
Cloudy crystals come from impurities (undissolved particles or mineral deposits from tap water) or from the solution cooling too fast. Always filter your solution before pouring it into the growing jar. Use distilled or filtered water. If your room is very cold and the solution cooled in minutes rather than hours, try moving the jar somewhere slightly warmer to slow the cooling process next time.
Solution evaporating too fast
If your solution level drops significantly within a day or two, your cover isn't blocking enough airflow. Switch to a tighter foil cover with just one small hole poked in it to let vapor escape slowly. If you're in a very dry environment, place the jar inside a larger loosely closed box to create a slightly more humid microclimate around it.
Crystals growing on the jar walls instead of on the seed crystal
This happens when the seed crystal isn't centered, when the jar wasn't completely clean, or when there are scratches on the glass that act as nucleation sites. Use a squeaky-clean jar (rinse with distilled water after washing), make sure your seed crystal is hanging in the middle of the solution away from the walls, and remove any competing crystals you spot on Day 1 before they get established.
Crystals dissolving or going rough overnight
If the room warms up overnight (or during the day), an already-cool saturated solution can become unsaturated again, dissolving part of your crystal. This leaves rough, pitted surfaces. Keep the growing jar in a consistently cool room and avoid placing it near heat sources. A basement or interior room is usually better than a kitchen or living room with variable temperatures.
Harvesting, drying, and keeping your crystals looking good
Harvest your crystal when it has reached the size you want, or when growth visibly slows and the solution looks very clear (meaning it's nearly depleted). Use clean tweezers or a spoon to gently lift the crystal out of the solution. Don't grab it with your fingers: skin oils can etch the surface.
Rinse the crystal very briefly in a small amount of room-temperature distilled water to wash off any solution residue, then immediately place it on a paper towel or lint-free cloth and let it air dry. Don't rub it. It will look slightly dull while wet but should clarify as it dries over 30 to 60 minutes.
To preserve your crystal long-term, coat it with a thin layer of clear nail polish or a hobby clear-coat spray once fully dry. This seals the surface and prevents the crystal from absorbing moisture from the air (which causes it to go cloudy or dissolve slowly over time). Alum crystals are especially sensitive to humidity, so if you're in a humid climate, coating is a must rather than optional.
Store finished crystals in a small display box or plastic case, not in an open dish. Keep them away from bathrooms or kitchens where steam and moisture are common. Treated this way, alum and borax crystals can stay looking sharp for months or even years.
One last thing: if your kit came with leftover chemical packets, store them in sealed zip-lock bags. Most crystal growing chemicals are hygroscopic (they absorb moisture from the air) and will clump or partially dissolve if left open. Sealed and stored somewhere dry, they'll keep for a year or more and you can run the whole process again whenever you want.
FAQ
What room temperature is best for crystal growth when using a crystal growing kit?
Most kit crystals are safest to keep at room temperature, typically around 20 to 23°C (68 to 73°F). If you live somewhere hot, avoid placing the jar near windows that get direct sun or above appliances, because the solution can become unsaturated and shrink or pit the crystal you already grew.
Can I use tap water when growing crystals with a kit, or does it always need distilled water?
Use filtered or distilled water, and do not use water that has been sitting in an open container for long periods. Even small amounts of minerals or dust can seed extra nucleation, which leads to cloudy clusters instead of clean octahedra or sharp geometric faces.
Should I stir or move the jar while the crystal is growing?
Don’t stir the jar after it has cooled and you’ve started crystal growth. Gentle stirring is only for dissolving the chemical, once crystals are present, disturbance adds vibration and can break growing faces, causing rough texture and smaller crystals.
What should I do if my kit solution stays clear but no crystals appear?
If you get stuck with no crystals forming, first confirm you truly dissolved the chemical until the solution looks clear. Then check whether it was hot enough at the time you mixed it, and allow the jar to cool undisturbed for the full window (12 to 24 hours for fast-growing types).
When is the best time to remove hitchhiker crystals during a kit grow?
A good rule is to remove competitor crystals as soon as you spot them, especially on the jar walls or at the bottom. These are easier to lift early, and once they establish, they keep taking up dissolved material that should feed your main crystal.
Is it okay to mix chemicals from different crystal growing kit experiments together?
Yes, but only if the chemical chemistry is the same as your kit instructions. Mixing different growing chemicals can create unexpected salts, different crystal habits, or no crystallization, so keep a single kit chemical per batch.
How can I slow down cooling if my crystals form too quickly or look rough?
For alum, growth often benefits from a slightly longer cooling period rather than aggressive temperature changes. If your setup cools too fast (for example, in a cold draft), try placing the jar in a less drafty interior spot so crystallization happens more gradually.
Do I need a seed crystal included in the kit, or can I make my own?
Some kits include a seed crystal, but you can also create a seed by saving the first small crystal that forms and using it next round. The key is to start it centered and keep the jar clean, because an off-center seed can cause lopsided growth.
Why do I get lots of tiny crystals instead of one big crystal from the kit solution?
If your jar looks like it has lots of fine crystals instead of a single larger one, it usually means too many nucleation sites or too much disturbance. Next time, use a very clean jar, filter your solution before pouring, and avoid checking more than once a day.
How long should I wait before sealing my crystal after harvesting it from the solution?
After harvesting, briefly rinse with room-temperature distilled water, then dry fully before sealing. If you coat with nail polish or clear spray while residue is still wet, trapped moisture can make the surface dull or encourage cloudiness later.
What does it mean if my finished crystal turns cloudy after I remove it from the jar?
If you see new cloudiness or tiny crystals forming on the surface after a day or two, it’s often moisture reactivity. Recoat only once fully dry, and store in a sealed display box or case rather than an open area with changing humidity.