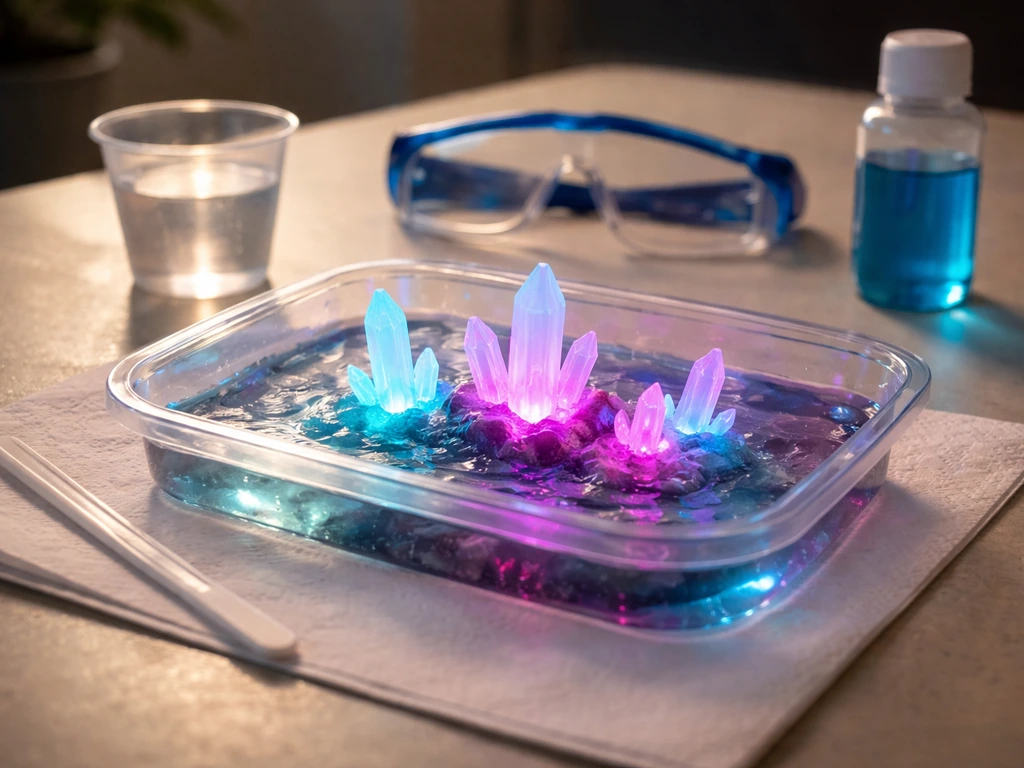
To grow crystals with the Science Squad 'Grow and Create Crystals' neon kit, you dissolve the included crystal compound in hot water, pour it into the tray or mold with your seed crystal or base form, then leave it undisturbed in a cool, stable spot for 24 to 72 hours while the crystals grow. The neon color comes from a dye or glow powder already mixed into the compound, so your job is mostly about getting the solution ratio right, keeping the temperature steady, and having patience. Here is exactly how to do it from start to finish. Once you have the basic crystals grown, you can follow project MC2’s instructions to turn them into wearable crystal jewelry project mc2 grow your own crystal jewelry instructions.
Science Squad Grow and Create Crystals Instructions

Marcus Thornfield
17 Jun 2026
What you need before you start
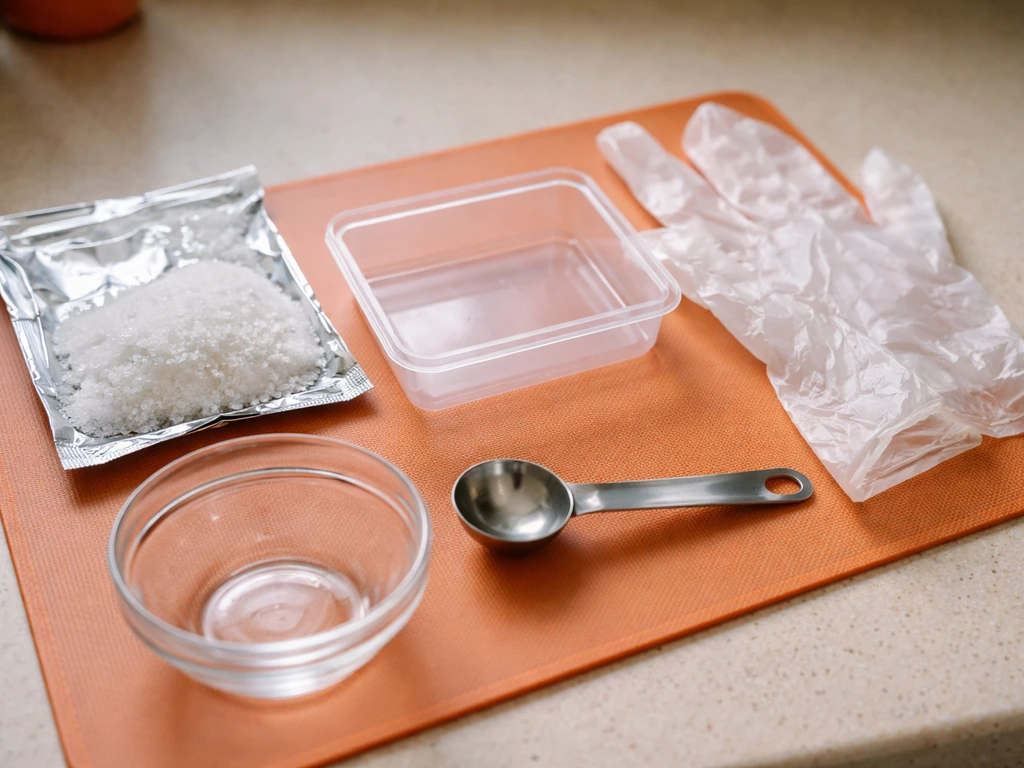
Open the box and lay everything out before you touch any water. Science Squad neon crystal kits typically include a packet of crystal growing compound (usually a supersaturated salt-based powder, sometimes sodium aluminum sulfate or a similar alum compound with dye added), a plastic growing tray or mold, a small base piece or seed form, a stir stick, and an instruction sheet. Some versions include a glow powder packet that you add separately for the neon effect.
Besides the kit contents, grab these things from your kitchen before you start:
- A heat-safe measuring cup or bowl (at least 2-cup capacity)
- Measuring spoons or a small kitchen scale
- Hot water — ideally just-boiled or very hot tap water (around 180 to 200°F / 82 to 93°C)
- A spoon or stir stick for mixing
- Paper towels and a flat, level surface where the tray can sit undisturbed
- Rubber or latex gloves if your skin is sensitive (the compounds are low-hazard but can irritate broken skin)
A quick word on safety: the crystal compounds used in consumer kits like this one are generally considered non-toxic and are safe for kids ages 8 and up with adult supervision for the hot-water steps. That said, keep the powder away from eyes, do not inhale it directly, and do not eat or drink anything while working. If younger kids are helping, an adult should handle the hot water entirely. Wash hands thoroughly after handling the solution.
Setup overview for Science Squad neon crystal kits
These kits work on a simple principle called supersaturation. You dissolve more of the crystal compound into hot water than would normally dissolve at room temperature. When the solution cools, that extra dissolved material has nowhere to go, so it deposits itself onto any surface it can find, including your seed crystal or base form, building up layer by layer into the crystal structure you see in the box photo.
The neon color is not something that develops on its own, it is either a fluorescent dye pre-mixed into the compound packet or a separate glow powder you stir in. This means the color intensity you see in the final crystal is mostly determined by how concentrated your solution is. A diluted or incorrectly mixed solution will give you pale, washed-out crystals. Getting the mix right in the first step is the single most important thing you can do.
Before mixing, place your growing tray on a flat, level surface and do not move it once you pour. Even small vibrations or tilts during the first 12 hours can disrupt crystal formation and cause lumpy, irregular, or incomplete results. Pick a spot away from drafts, air vents, and direct sunlight, a kitchen counter away from the window works perfectly.
Step-by-step: growing your neon crystals day by day
Day 0: Mixing and pouring (about 15 minutes of active work)
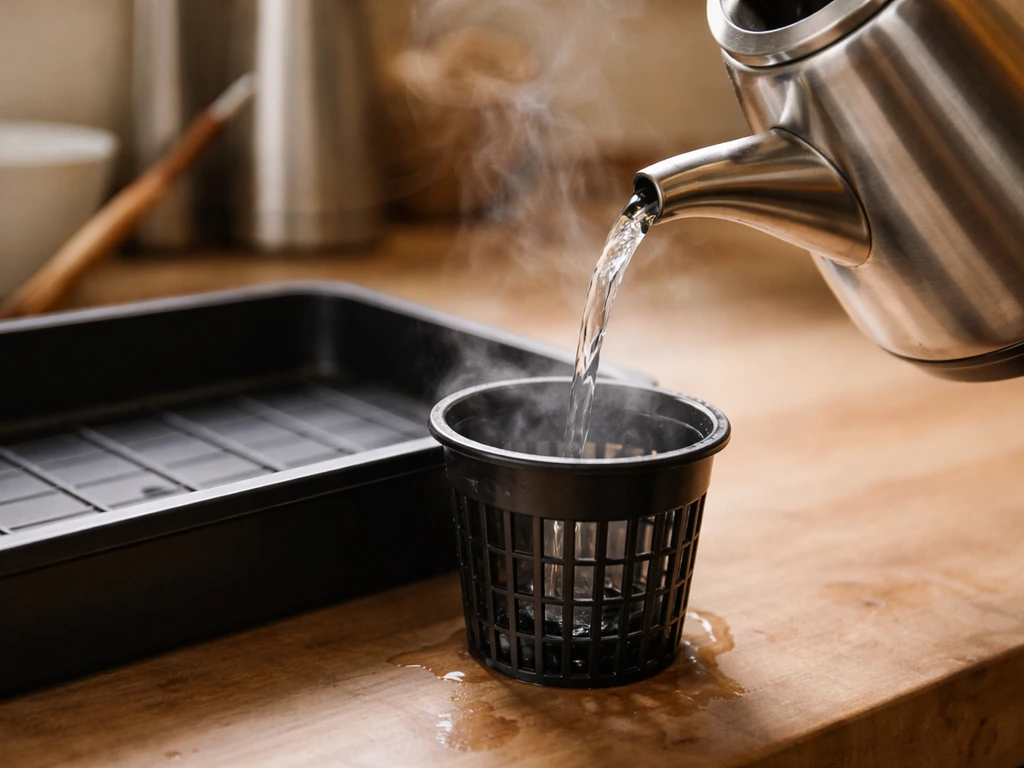
- Heat your water until it is very hot — just-boiled from a kettle is ideal. Measure the amount specified on your instruction sheet. If your sheet is missing, a standard guideline for alum-based kits is roughly 1 cup (240 ml) of hot water per full compound packet.
- Pour the hot water into your heat-safe mixing cup first, then slowly add the crystal compound powder while stirring continuously. Do not dump all the powder in at once or it will clump.
- Stir for 2 to 3 minutes until the solution looks completely clear and no powder remains on the bottom. If your kit includes a separate neon/glow powder packet, add it now and stir for another 30 seconds.
- Let the solution cool for exactly 5 minutes — no longer. You want it hot enough to stay dissolved but not so hot it warps the plastic tray.
- Place your seed crystal, base form, or provided shape into the growing tray. Carefully pour the solution over it until the base is fully submerged or the tray is filled to the line indicated.
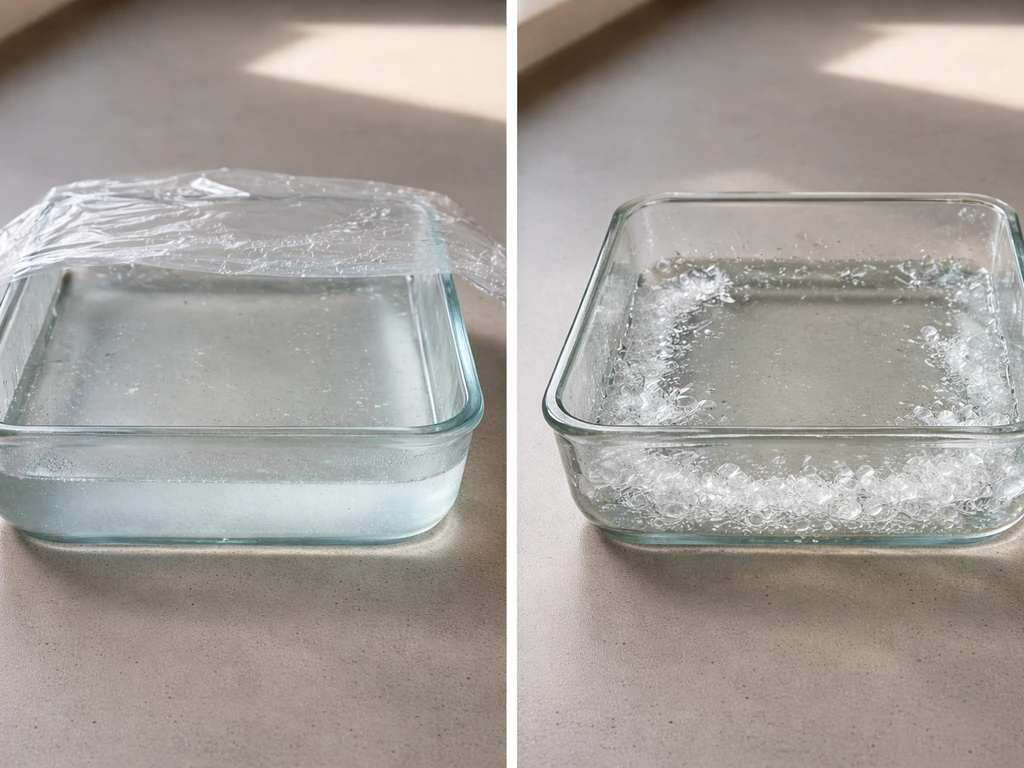
- Place the tray on your flat, undisturbed surface. Do not cover it tightly — you want gentle evaporation, which helps concentrate the solution and speeds up crystal growth. A loose piece of paper placed over the top (not sealing it) keeps dust out without blocking airflow.
Day 1: First signs of growth (check in, do not touch)
By the 12 to 24 hour mark, you should see the solution starting to look slightly cloudy or you may notice fine crystal deposits beginning to form on the base piece and along the edges of the tray. This is completely normal and is actually a good sign. Resist the urge to stir, poke, or move the tray. Even lifting the tray to look underneath can cause the delicate crystal lattice to break apart and restart.
Day 2: Crystal clusters building up
At the 36 to 48 hour mark, you should see visible crystal clusters forming on and around your base piece. The neon color should be clearly visible now. The solution level in the tray will be lower than when you started because evaporation is doing its job. Do not add more water at this stage, that would dilute the solution and slow or stop growth.
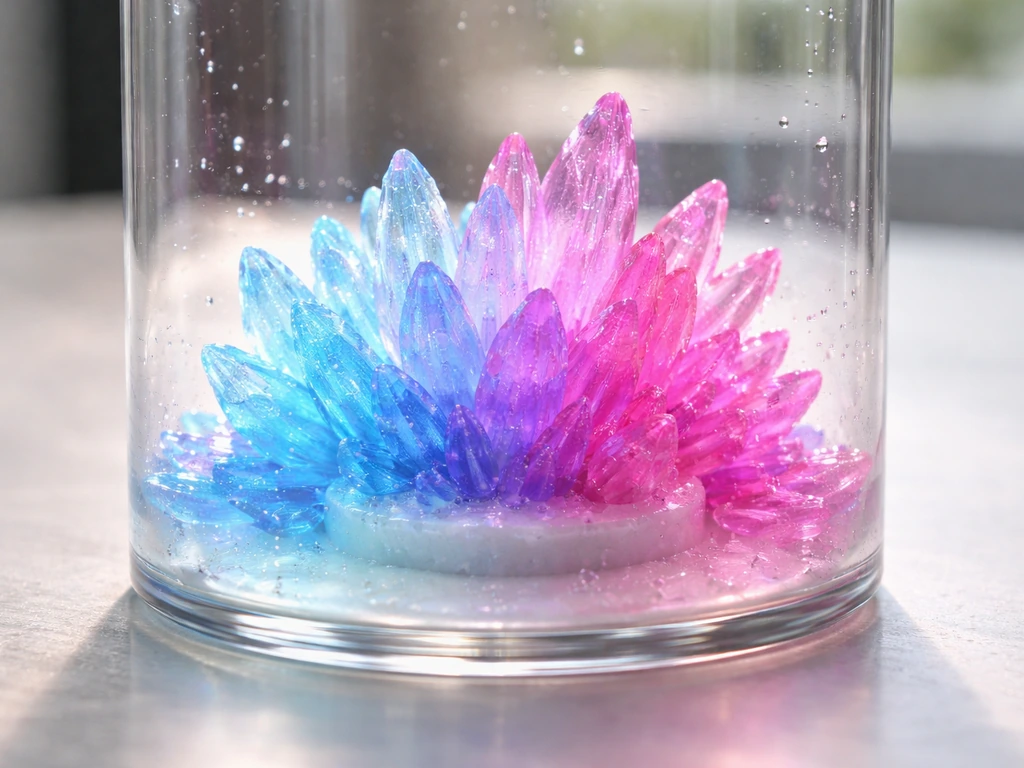
Day 3: Harvest or extend (your call)
By 72 hours (three full days), most Science Squad neon crystal kits will have reached their intended result. To get the best results and a quick overview of your klutz grow-your-own crystal jewelry instructions, follow the day-by-day approach that matches your kit klutz grow your own crystal jewelry instructions. The crystals will be visibly faceted, brightly colored, and covering the base piece.
At this point you can carefully remove the crystal formation from the tray using the stir stick or a spoon, set it on a paper towel, and allow it to air dry for 2 to 4 hours before handling. If you want larger, more dramatic crystals, leave the tray undisturbed for another 24 to 48 hours before harvesting.
Troubleshooting: when things go wrong
These kits are pretty forgiving, but a few problems come up again and again. Here is what is likely happening and how to fix it.
| Problem | Most likely cause | Fix |
|---|---|---|
| No crystals after 48 hours | Solution too diluted, water too cold when powder was added, or tray was moved | Start fresh: use hotter water, stir longer, and do not disturb the tray at all |
| Crystals are small and weak | Solution cooled too fast, room too warm, or powder did not fully dissolve | Move tray to a cooler room (65 to 70°F / 18 to 21°C) and allow more time |
| Color looks pale or washed out | Solution was diluted with too much water, or glow powder was not added | Use slightly less water next time; confirm glow powder packet was emptied fully |
| Solution is cloudy or murky | Normal early-stage cloudiness as crystals begin nucleating — not a problem | Wait 24 more hours; if it stays murky with no crystal growth, solution may be contaminated |
| Crystals forming on tray walls but not on base | Base piece was not submerged or positioned correctly | Reposition base so it is fully covered by solution at the start |
| Crystals crumbling when touched | Harvested too early before fully set, or dried too fast | Leave crystals in tray longer and air dry slowly before handling |
One frustration I hear about a lot with consumer crystal kits, and it applies here just as much as with other popular kits in this category, is that the instructions that ship in the box are sometimes vague about exact water amounts and temperatures.
Because the official Science Squad “Grow and Create Crystals” instruction manual text was not retrievable from accessible legitimate sources, the kit’s water and temperature specifics may not be fully verifiable beyond the in-box guidance instructions that ship in the box are sometimes vague about exact water amounts and temperatures.
For the Science Squad “Grow and Create Crystals” PDF that is available to open, the material appears to be generic listing or index content rather than step-by-step kit instructions instructions that ship in the box are sometimes vague.
If your sheet got wet, is missing, or just does not say enough, follow the ratios in the setup section above and you will be in good shape. If you need a clear walk-through, use the crystal grow kit instructions in the setup and troubleshooting sections to match your kit’s water amounts and temperatures.
How to get bigger, brighter crystals
The single biggest lever you have is temperature. Crystals grow best in a consistently cool, stable environment, around 65 to 70°F (18 to 21°C). A room that is too warm (above 75°F / 24°C) means the solution cools too slowly, and instead of forming nice faceted crystals, you get a flat, crusty deposit. A room that is too cold can cause the solution to cool so fast that crystals precipitate out in a rush, giving you many tiny crystals instead of a few impressive ones.
The second lever is saturation. Use the hottest water you safely can (just off the boil) and stir until every last bit of powder is dissolved before pouring. This maxes out the concentration of the solution, which means more material is available to deposit onto your crystal as it cools. Do not be tempted to add extra powder beyond what the kit provides without also increasing water, undissolved powder just sits at the bottom and creates murky gunk, not bigger crystals.
Evaporation is your friend. Leaving the tray lightly uncovered (not sealed) allows slow, steady evaporation that continuously concentrates the remaining solution and feeds the growing crystal. If you seal the tray completely, you cut off this mechanism and crystals stop growing much sooner.
- Keep the tray away from fans, open windows, and air conditioning vents — drafts cause uneven evaporation
- Do not place the tray in direct sunlight, which warms the solution and promotes dull, powdery deposits
- Wait at least 72 hours before harvesting if you want the best possible result — 96 to 120 hours yields noticeably larger clusters
- Handle the finished crystals gently; they are water-soluble and will dissolve if they get wet again
Cleanup, storage, and getting rid of leftover solution safely
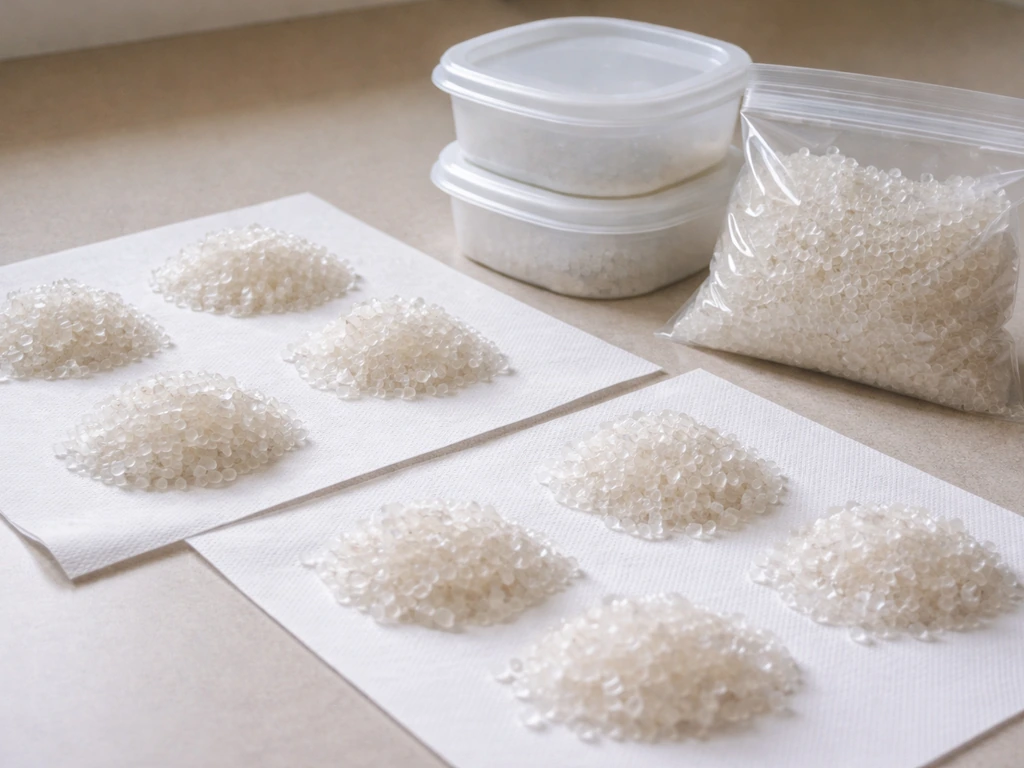
Once your crystals are fully dry (2 to 4 hours of air drying on a paper towel), store them somewhere away from moisture and humidity. A small zip-top bag or a lidded container works perfectly. Do not put them in the bathroom or anywhere that gets steamy, and keep them away from spills. Because these crystals are typically alum-based or similar water-soluble salts, contact with water will dissolve them fairly quickly.
For the leftover solution in the tray: this is the safest part of the whole process. Consumer crystal growing solutions are water-soluble, low-hazard compounds, and the leftover liquid can be poured down the sink with plenty of running water. Rinse the tray and any utensils thoroughly with warm water immediately after pouring so residue does not harden and become difficult to remove.
If any of the solution dried and hardened in the tray before you could clean it, do not scrape it aggressively, just fill the tray with warm water, wait 10 to 15 minutes, and it will dissolve and wipe clean. The same trick works on any dried crystal residue on spoons or the mixing cup.
If your kit came with any glow powder, discard any unused portion according to the packaging note. Most fluorescent powders used in toy kits are non-toxic, but they are fine particulates and should not be poured down the drain in large quantities, wrap unused powder in a paper towel and dispose of it in the trash.
Crystal growing kits like this one are a great entry point into watching chemistry happen in real time, and the Science Squad version is a solid choice for a first experiment. If you end up wanting to push further, larger crystals, more control over the process, or a jewelry-making angle, there are other kits in this space worth exploring, including options from Klutz and Project MC2 that combine crystal growing with wearable results.
But for a straightforward, satisfying grow-and-display experience, following the steps above should get you bright, properly formed neon crystals on your first try. If you want a broader approach beyond the Science Squad kit, this guide explains how to grow crystals with a crystal growing kit from start to finish following the steps above should get you bright, properly formed neon crystals on your first try. .
FAQ
What should I do if my seed/base piece floats or shifts during the first hours?
Place the tray on a level surface before pouring, and check the base piece right after you set it in. If it shifts after the pour, gently nudge it only once while the solution is still clear (avoid stirring or repeated touching), because late movement can cause uneven, lumpy growth.
Can I use tap water, or does water type matter?
Tap water is usually fine for these kits, but very hard water (high mineral content) can increase cloudy deposits and leave more residue on the tray. If your tap water tends to leave spots, consider using filtered water for a cleaner result.
How do I know the solution is mixed correctly for strong neon crystals?
The powder should dissolve fully when you stir with hot water, with no gritty bits left on the bottom. If you still see sediment when you pour, the solution may be under-saturated or contain undissolved material that creates murky crust instead of faceted crystals.
Should I cover the tray with foil or a lid to stop dust?
Light coverage is different from sealing. Use only loose cover strategies (like a tented cover) that still allow slow evaporation. A fully sealed tray usually slows or stops crystal growth because concentration stops increasing.
Why did I get lots of tiny crystals instead of larger clusters?
This often happens when the room is too cold, the solution cools too quickly, or the mixture isn’t fully dissolved before pouring. Try warming your working area to roughly the kit’s target range (about 65 to 70°F, or 18 to 21°C) and pour only after the compound is completely dissolved.
Is it okay to move the tray after crystals start forming?
Avoid moving it once you see deposits, especially during the first half of the grow window. Movement can break developing crystal facets and restart deposition, leading to irregular shapes and weaker neon clarity.
My crystals formed, but the color is washed out. What’s the most common cause?
Typically the neon effect was diluted, either from incorrect water measurements or from not mixing in the glow dye/powder as directed (if your kit uses a separate packet). Measure water carefully and stir thoroughly after adding any neon component.
When harvesting, how do I keep crystals from crumbling?
Lift the crystal formation from the tray gently and support it on a flat surface, rather than pulling from one edge. After removing, let it air dry on paper towel for the full recommended time before handling more assertively, since surface moisture can make crystals brittle.
What if my crystals stop growing early, like before 48 hours?
Check two things: temperature stability and evaporation access. A room that’s too warm (or a drafty, rapidly changing location) can change the cooling pattern, and sealing the tray can stop the concentration process. Also confirm you didn’t dilute by adding extra water mid-cycle.
Can I reuse leftover solution to grow more crystals?
Generally, no. The leftover liquid has already deposited some material, and it may not remain at the right saturation level. If you want a new batch, start with a fresh mix using the kit’s compound amounts and the same hot-water approach.
How should I clean the tray if crystals hardened and are stuck?
Fill the tray with warm water, wait about 10 to 15 minutes, and let the residue re-dissolve before wiping. Avoid scraping with sharp tools, since hardened deposits can scratch the plastic and make future cleanup harder.
Are the finished neon crystals safe to keep in a humid environment?
Keep them away from steamy rooms and spills. Many kit crystals are water-soluble, so humidity or splashes can soften and dissolve them, fading the neon and weakening the structure over time.